Drums are often the trickiest instrument to mic live. On a stage, everything leaks into everything: cymbals spill into tom mics, the snare bleeds into the overheads, and on small stages the acoustic volume of the kit already carries into the room. So the goal isn’t to capture everything cleanly like in the studio, it’s to reinforce what matters and control bleed. Here’s how to approach it methodically.
The live logic: priorities and trade-offs
In the studio you aim for ideal capture. Live, you aim for efficiency and stability. Two elements hold most of the energy and intelligibility: the kick and the snare. If those two sound right, the kit holds together. The rest fills in, depending on stage size, available inputs and soundcheck time.
The minimal kit that works anywhere is three mics: kick, snare and one overhead. On a modest stage that’s often enough, and far easier to mix than an over-miked kit. Only add capsules when the room and the console justify it.
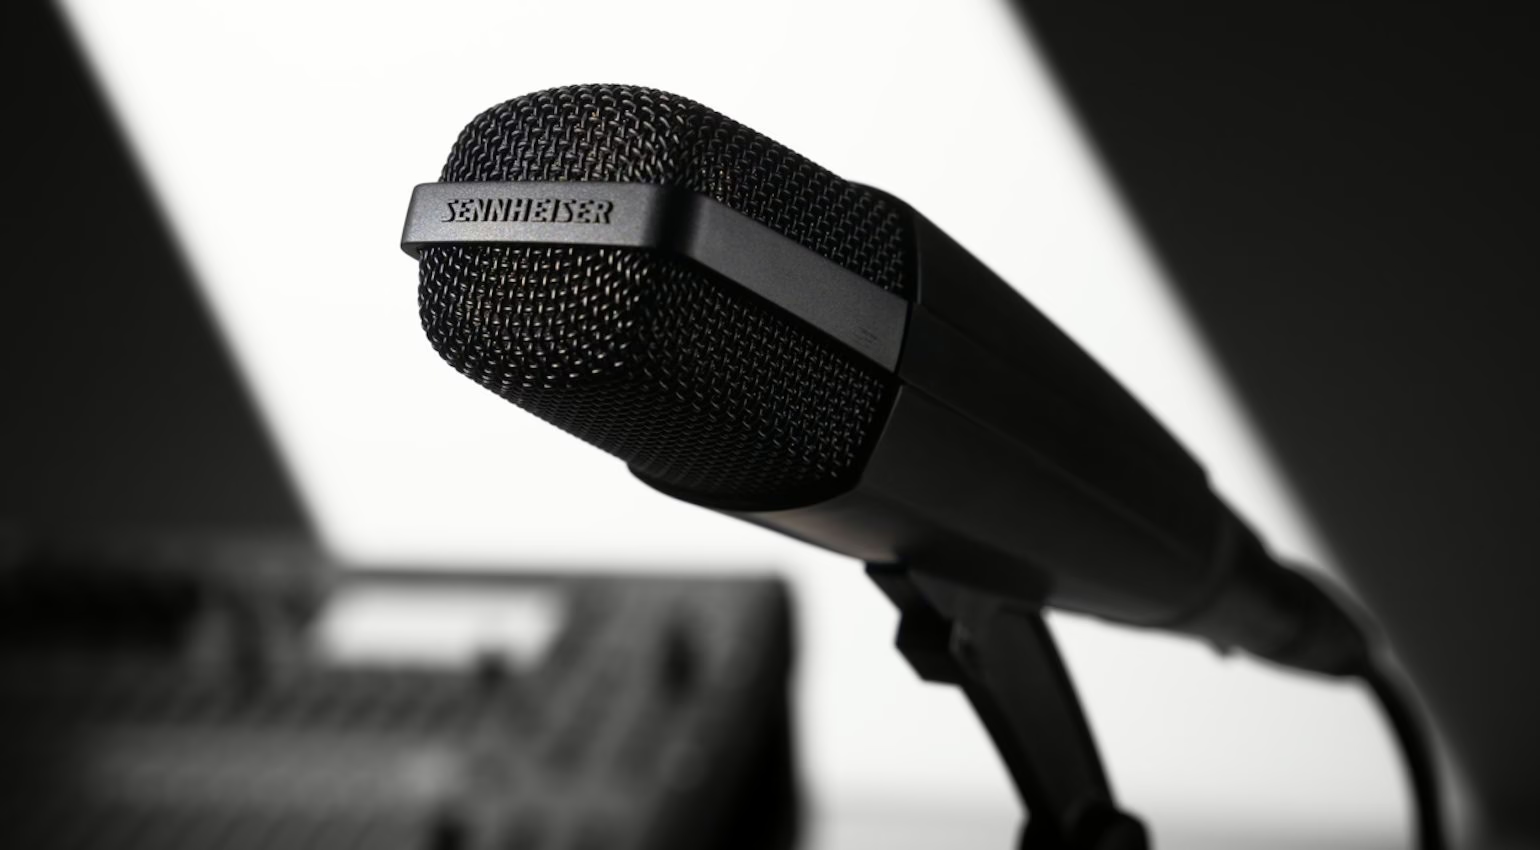
Mic by mic
Kick drum
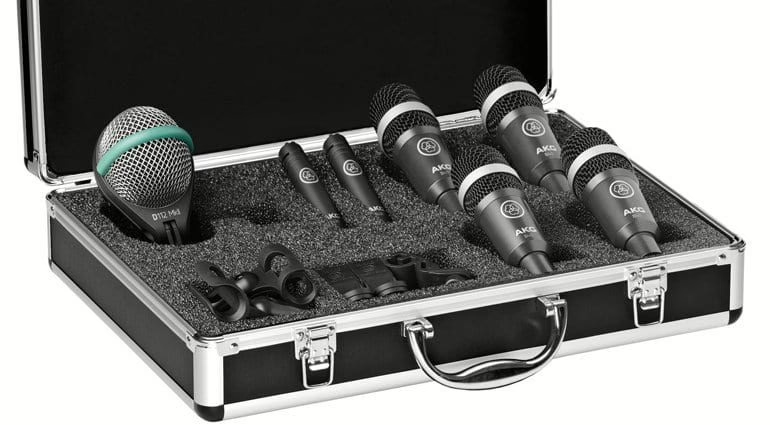
Use a dynamic mic built for low end, placed inside the drum through the resonant-head port. Close to the beater the sound is clicky and defined; pulled back toward the centre it gets rounder. A pillow inside damps stray resonance. This is the foundation of the kit: take the time to get it right.
Snare
A rugged cardioid dynamic, aimed between the edge and the centre of the head, a few centimetres above. Angle it to reject the nearby hi-hat. A second mic under the snare adds the wires’ timbre, but flip its phase against the top mic, or the two will fight each other.
Toms
Clip-on dynamic mics, one per drum, just above the head and tilted slightly toward the centre. Clip models save precious setup time and keep the stage clear of mic stands.
Overheads and cymbals
In the studio, overheads capture the whole kit; live, they mostly bring in the cymbals, since everything else is close-miked. A cardioid condenser pair, or a single central mic on a small stage. Keep an eye on snare bleed, which is very present in the overheads.
Bleed, phase and power
Bleed is enemy number one. To contain it, apply the 3:1 rule: the distance between two mics should be at least three times the distance from each mic to its source. Watch phase coherence, especially between snare top and bottom, and between toms and overheads. Our notes on microphone placement techniques apply directly here. The overhead condensers need 48 V phantom power; make sure it’s enabled on those channels and only those.
From stage to console
A drum kit quickly means eight to twelve lines to carry back to the console. A well-organised patch and stagebox setup avoids chaos and last-minute errors, and clean labelling of your cables and connectors saves huge time during load-in. On the monitor side, drums are also one of the main sources of feedback and lost gain in the mains and the wedges: group the channels, clean up what you don’t need, and leave open only what sounds. Finally, a drummer’s vocal mic needs the same care as a live vocal mic anywhere else on stage.
My take
The best live drum setup is often the leanest. Kick, snare, one or two overheads, and build from there: it sounds good fast, mixes easily and forgives the surprises of a live stage. Piling twelve mics on a small stage mostly piles up twelve sources of bleed and feedback. Nail the kick and snare, lock the phase, and the rest follows. The real luxury live isn’t the number of capsules, it’s a stable balance that holds from the first song to the last.