We spend hours choosing a mic, a preamp, a plugin. Then we slap the mic anywhere and hope to fix the rest in the mix. It should be the other way around: mic placement is the first process, and by far the most powerful. Move the mic two centimetres, change the angle a few degrees, and the tone shifts more than the best EQ could manage. This guide gathers the pointers that actually matter, source by source, without dogma.
Three levers govern everything: distance, axis, room
Whatever the instrument, your sound rests on three decisions.
- Distance. The closer the mic, the more low end builds up on directional mics — the proximity effect. Move in to thicken and isolate; pull back to open up and let the source breathe. Distance also sets the balance between direct sound and room.
- Axis. A mic doesn’t hear the same thing on-axis and off-axis. On a bright source, a few degrees off-axis soften the highs without touching an EQ. Aiming the mic is already equalising.
- Room. The mic captures the source and its reflections. An untreated room colours everything you record. Before blaming the mic, listen to the room — and if needed, revisit its acoustic treatment.
Keep the basic move in mind: play or speak, move the mic while listening on headphones, and stop when the tone is right. Your best placement tool is your ears, not a rule set in stone.
Vocals: the toughest exercise
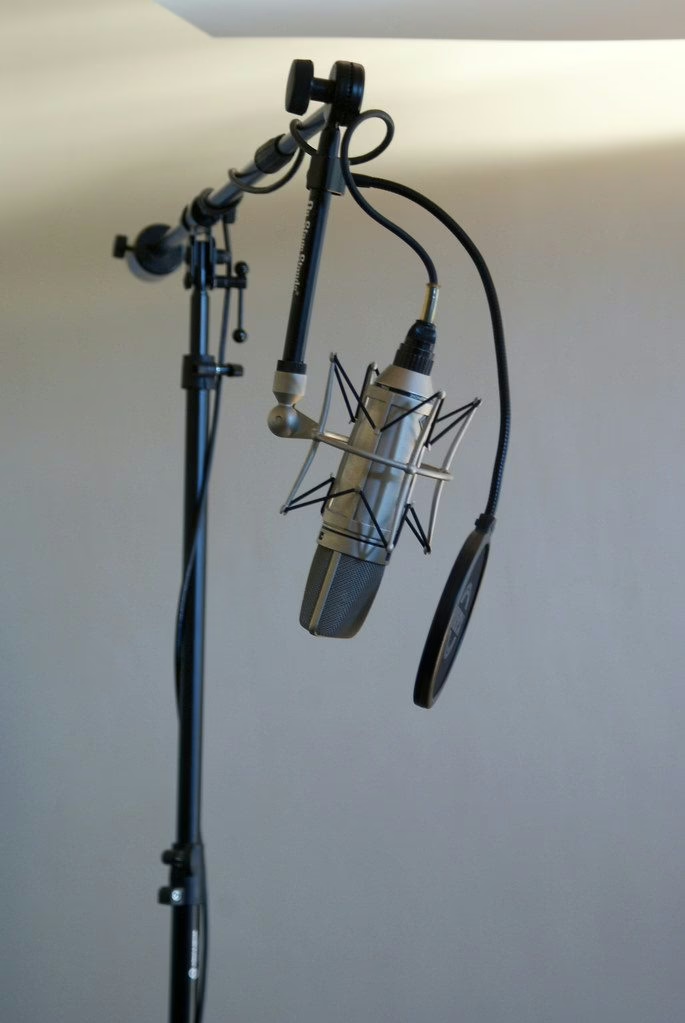
For studio vocals, a large-diaphragm condenser in cardioid, 15-25 cm away, is a solid starting point. Too close and the proximity effect swells the lows while every plosive becomes a bomb; too far and the room creeps in. A pop filter a few centimetres in front of the capsule tames the “p” and “b” sounds and, along the way, enforces a stable distance.
Use axis to control sibilance: singing slightly above or below the capsule, rather than straight into it, calms aggressive “s” sounds — often better than a de-esser bolted on afterwards. Mind reflections too: a voice recorded facing a bare wall will sound hollow. An absorptive panel behind the singer, or a reflection filter around the mic, tightens the tone.
Acoustic guitar: the balance point
The classic mistake is aiming at the soundhole: you get a booming, muddy low end. Aim instead around the 12th fret, where string and body balance out, about twenty centimetres away. A small-diaphragm condenser is often more accurate there than a large one. Move toward the bridge for more body; toward the neck for brightness and finger definition.
For a stereo image, two mics — one at the 12th fret, one near the bridge — open the sound, provided you watch the phase (see below). That’s where the 3:1 rule comes in.
Guitar amp and bass: the cone decides
On a guitar cab, everything hinges on where you sit in front of the speaker. At the centre of the cone (dust cap), the sound is bright and biting; toward the edge, it softens and rounds off. A dynamic mic pressed to the grille gives a direct, present sound; backing off a few centimetres adds air. Many engineers combine a close dynamic and a condenser set a little further back — again, mind the phase.
Bass is often taken via DI for precision, doubled with a mic in front of the amp for colour. If you blend the two, time-align them to avoid low-end cancellation.
Drums: stereo and the 3:1 rule
Drums are the school of placement, because they stack up mics and therefore phase conflicts. A few pointers:
- Kick: inside near the beater for attack, deeper for weight; in front of the resonant head for roundness.
- Snare: 2-3 cm above the head, aimed at the centre, avoiding a clear “view” of the hi-hat. A mic underneath captures the wires (flip its polarity).
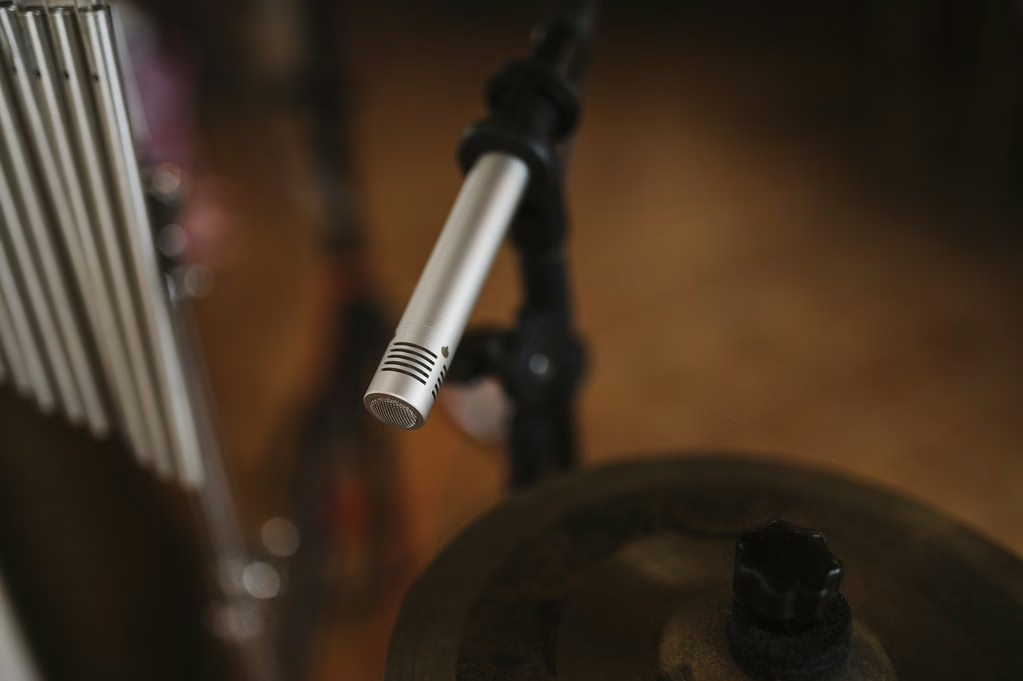
- Overheads: they make the overall sound. As a stereo pair, they set the whole image: favour them; close mics only reinforce.
For stereo, three classics: XY (coincident capsules, mono-compatible and phase-safe), ORTF (capsules 17 cm apart at 110°, a wider image), and a spaced AB pair (very wide, but watch it in mono). The famous 3:1 rule kicks in whenever two mics capture the same source: space the second at least three times the distance between the first mic and the source. That limits cancellation when you sum the tracks.
The number-one trap: phase
As soon as a source is captured by several mics, their signals arrive with slight offsets. Summed, they reinforce some frequencies and cancel others: low end that vanishes, a sound that goes hollow in mono. Three reflexes: respect the 3:1 rule, always check the mix in mono, and use the polarity switch when one mic faces another (above/below a snare, for example). Fine-aligning tracks at the editing stage handles the rest.
Mic and source: a few useful pairings
| Source | Common mic type | Starting point |
|---|---|---|
| Studio vocals | Large-diaphragm condenser | 15-25 cm, cardioid, pop filter |
| Acoustic guitar | Small-diaphragm condenser | 12th fret, ~20 cm |
| Guitar amp | Dynamic | Grille, between cone centre and edge |
| Drum overheads | Condenser (pair) | XY / ORTF above the kit |
These starting points are just that: starting points. The mic and preamp add their colour — the subject of our guide to the mic preamp — but no gear will rescue a poor placement.
Record with headroom
Good placement deserves a good input level. Aim for reasonable peaks, keep dynamic reserve, and avoid clipping the converter: the whole point of gain staging in the digital domain. A cleanly captured signal, with headroom, leaves you every option later in the mix.
My take
Placement is where you save the most time for zero money. A decent mic well positioned will always beat an exceptional mic badly aimed, and yet it’s the first thing we rush when the session runs late. My rule: five minutes of moving the mic on headphones before any serious take, and a mono check the moment more than one mic is involved. It isn’t glamorous, it doesn’t photograph well for social media, but it’s what separates a take that mixes itself from one you repair all night. Move the mic, listen, do it again: the rest follows.