After two hours on a mix, your ears lie. They get used to the low end you pushed, the midrange creeping up, the vocal sitting too far forward. A reference track breaks that habit: a finished, mastered song, picked for its quality, played next to yours to reset your judgement. It sounds trivial, yet most level and tonal errors come from working with no reliable point of comparison.
What a reference track is really for
A reference track is a commercial recording you know well that ticks the boxes of your target: spectral balance, stereo width, density, low-end weight, vocal placement. The point is not to copy it, but to have a yardstick. Your ears judge badly in absolute terms; they judge very well by comparison. Switching between your mix and the reference, you hear in a second whether your bottom end is too heavy, your highs lack air, your vocal gets buried.
A reference also ties back to listening level. You do not mix the same way loud and quiet, because the ear does not hear lows and highs with equal sensitivity at different levels. Keeping a reference on hand helps you stay consistent, a point we cover in our article on what level to mix at.
Choosing your references
The right habit is to build a small library, not to improvise at the last minute. Three or four tracks per style, well produced, that you know inside out and whose sound you love. A few sorting rules:
- Same aesthetic family as your project: there is no point comparing an intimate folk song to an over-compressed pop record.
- Productions known for their sound quality, not just for chart success.
- Clean sources: prefer an uncompressed file (WAV, AIFF, FLAC) over a compressed streaming feed that alters the top end and the dynamics.
Watch the trap: a reference too far from your material will push you toward a sound that does not fit your song. A reference guides, it does not dictate.
The level problem, the cause of bad decisions
Here is the point almost everyone misses. A commercial mastered track is far louder than your mix in progress. If you switch from your mix to the reference and change nothing, the reference will always seem better, for one reason: it is louder, and louder sounds more flattering. You then risk pushing your own mix into the red to catch up, and wrecking it.
The rule is to match perceived levels before comparing. Turn the reference down (never the other way) until it sounds at the same subjective volume as your mix, by ear or by matching measured loudness in LUFS. This level question sits at the heart of modern metering, which we walk through in our guide to VU, PPM, peak or loudness and in the one on loudness and EBU R128.

How to listen, in practice
Drop your references onto a track in your session, after the master bus if possible, or onto a dedicated player set to the same monitoring point. What matters is being able to switch instantly, with no gap: a one-second pause is enough to lose the comparison. Many workstations and reference plugins offer this A/B switch with automatic level matching.
What should you listen for, and in what order?
- Tonal balance: is your low end heavier, your highs softer? That is the first gap to close.
- Vocal and lead elements: how far does the vocal sit above the mix in the reference?
- Width and depth: stereo image, reverbs, sense of space.
- Mono compatibility: check the image holds up in mono, a reflex worth keeping.
- Dynamics: does your mix breathe as much, or have you crushed it?
Comparing width and balance quickly leads to Mid/Side processing, which acts separately on centre and sides, and to how you choose and place your monitors: a reference is worthless on a system you do not know.
The reference in mastering
In mastering, the reference takes on another dimension. You are no longer working separate tracks but the final stereo mix, and the comparison is about overall level, global tone and density. This is where level matching becomes essential: a reference mastered to its output volume will always crush your master in progress if it is not yet limited. So you compare at equal loudness, then decide on the colour and dynamics you want. The order of processing matters as much as the reference itself, and a well-set bus compression is often the difference between a master that glues and one that pumps.
A classic trap: chasing the reference’s level at the expense of dynamics. A very loud modern track is not necessarily the right model if your music lives on its variations. The reference points to a direction, it does not force you into the loudness war.
The limits of the exercise
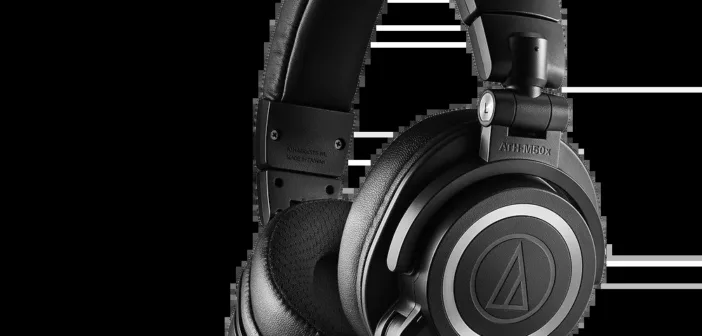
A reference track is no magic wand. It replaces neither decent room acoustics, nor monitors you know, nor experience. A reference on consumer headphones will lead you to wrong decisions. And sticking too close to a model, you end up erasing your own song’s identity. Good use fits in one sentence: use it to check, not to imitate.
My take
The reference track is the cheapest and most effective tool in a mixing session. It costs thirty seconds of setup and saves hours of wandering. The only discipline that counts is level matching: without it, you compare a loud track to a quiet one, and you get it wrong every time. Build a small library of tracks you love, play them at the same volume as your work, and keep them to verify a direction, never to trace over it. Your tired ears will thank you.