In a music studio, you’ll happily reach for a high-end condenser to capture every detail of a voice. In radio and podcasting, the instincts are different: most spoken voices go through a large-diaphragm dynamic mic. That’s no accident, and it isn’t about budget. It’s a technical choice rooted in the real environment of a speech studio. Here’s why, and how to get the most out of it.
Why dynamics rule the spoken voice
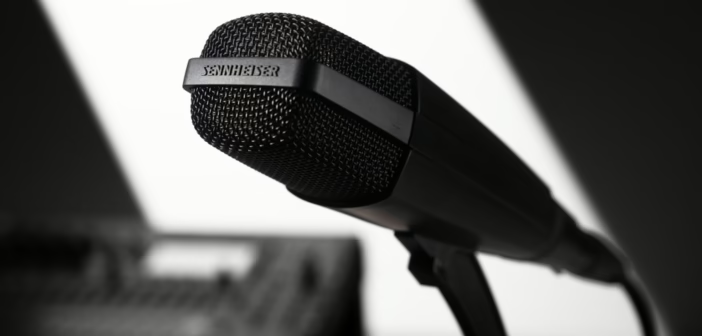
A radio studio or a podcast corner is rarely a perfectly treated booth. There’s background noise, sometimes several people around a table, a bit of room reverberation. The large-diaphragm dynamic mic answers exactly that context: less sensitive to distant noise and room acoustics than a condenser, it pushes the close source forward and keeps the rest back. Its warm character and excellent rear rejection make it ideal for a spoken voice, even in an imperfect room.
The condenser keeps its edge for detailed capture in a treated room, but in real-world radio and podcast conditions the dynamic forgives far more. If you still have to deal with a difficult room, our guide to acoustic treatment will help you win the few decibels of comfort that change everything.

The genre’s reference mics
Three families come up again and again in speech studios:
- The classic radio dynamic: large diaphragm, built-in pop filter, settled tone, designed for the close voice. It’s the standard of morning shows and polished podcasts.
- The broadcast announcer mic with a “variable” style port, built to tame the proximity effect even right up against the mouth.
- Affordable podcast dynamics, often USB and XLR, that bring this character at a contained cost.
Beyond specific models, it’s the type that matters: a good large-diaphragm cardioid dynamic, placed correctly, will do a better job than a pricey condenser misused in a noisy room.
Placement: the proximity effect as an ally
The spoken voice is worked up close: 10 to 20 centimetres, slightly off-axis to soften plosives. At that distance the proximity effect enriches the lows and gives that signature radio grain; back off and the voice brightens but picks up more room. A pop filter, or a slightly offset axis, tames the “p” and “b” sounds. A stable boom arm avoids desk noise and keeps a constant distance. To go further on the mic, room and editing together, see our feature on podcast voice.
The processing chain
A clean radio voice rests on a simple, well-set chain, not a pile of plugins:
- High-pass filter: to remove rumble and some of the excess proximity effect.
- Compression: to stabilise the level of a living voice. The basics are in our guide to compression.
- De-esser: to tame the sibilance that proximity emphasises, without dulling the voice (our method here).
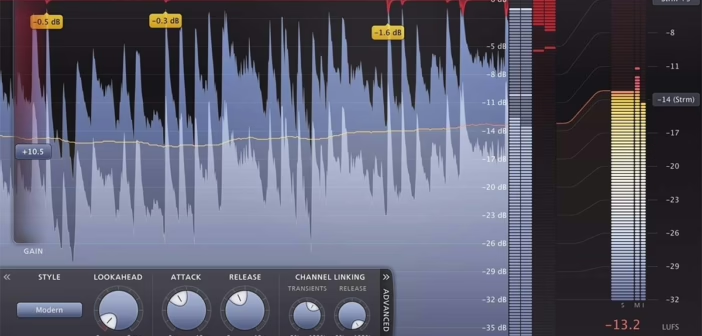
- Broadcast processing, on air: AGC, multiband and a limiter keep a constant level to the transmitter (see broadcast processing).
Mind the gain: some radio dynamics are low in sensitivity and need a generous preamp, or a dedicated little gain stage, to put out a clean signal without hiss.
Mic, interface and all-in-one stations
The mic is only one link. Many podcasters go through an all-in-one station that integrates preamps, mixing, pads and guest handling. We detailed multitrack recording on the RØDECaster Pro II and published a full guide to the Tascam Mixcast 4; to compare options, our roundup of podcast consoles and stations covers the ground.
My take
The right radio voice mic is first the right type of mic, not the most expensive. A well-placed large-diaphragm dynamic, in a reasonably quiet room, with a gentle high-pass and compression, gives a pro result many chase in vain with plugins. The trap is over-processing: the radio voice that works is clear, stable and natural, not over-sculpted. Start by getting distance and axis right, set the gain cleanly, and you’re already most of the way there.