Compression is probably the most-used process in the studio, and the most misunderstood. Behind its five knobs sits a simple idea: control level differences to make a sound denser, steadier and more present. You just have to understand what each control actually does. This guide walks through the fundamentals, with no needless jargon, so you can stop turning knobs at random.
What a compressor is and what it does
A compressor automatically reduces a signal’s level whenever it passes a set point. By tightening the gap between loud and quiet passages, it lowers dynamic range. The payoff is twofold: making a track more even and easier to sit in a mix, and thickening and asserting a sound, giving it body and presence. A vocal that stays intelligible from whisper to shout, a bass that holds its place, a snare that cracks: that’s usually a compressor at work.
The five core controls
Five controls appear on almost every compressor. Understand them and you understand the unit.
- Threshold: the level at which compression kicks in. Anything above is reduced; below, the signal is untouched. The lower the threshold, the more material you process.
- Ratio: how hard the reduction is above the threshold. A 2:1 ratio means that for every 2 dB in above the threshold, 1 dB comes out. At 4:1 it gets firm; beyond 10:1 you’re into limiting.
- Attack: how long the compressor takes to act once the threshold is crossed. A fast attack clamps transients, a slow attack lets them through and keeps the snap.
- Release: how long it takes to let go once the signal drops back below the threshold. Too short and it pumps; too long and it chokes.
- Makeup gain: since compression lowers overall level, you bring it back up at the output to match volume and judge the effect honestly.
To that add the knee, which sets how gently compression engages: a soft knee eases the process in around the threshold, a hard knee triggers it sharply.
Feed-forward or feedback: where detection happens
Two schools coexist depending on where the compressor analyses the signal. In feed-forward, detection happens before the gain cell, giving precise, modern control. In feedback, it happens after, feeding the already-compressed signal back: the behaviour is softer, more musical, more program-dependent. Many beloved classics work in feedback, which explains part of their character.
The main families of compressor
Beyond the controls, it’s often the gain-cell technology that gives a compressor its character. Five families dominate.
| Type | Character | Typical uses |
|---|---|---|
| VCA | Fast, precise, versatile | Bus, drums, mix, control |
| FET | Very fast, punchy, coloured | Drums, guitars, energetic vocals |
| Optical (opto) | Smooth, gradual, natural | Vocals, bass, acoustic instruments |
| Vari-mu (tube) | Round, warm, level-dependent | Mix bus, mastering, colour |
| Digital / modelled | Neutral or emulates the above | Anything, total recall, flexibility |
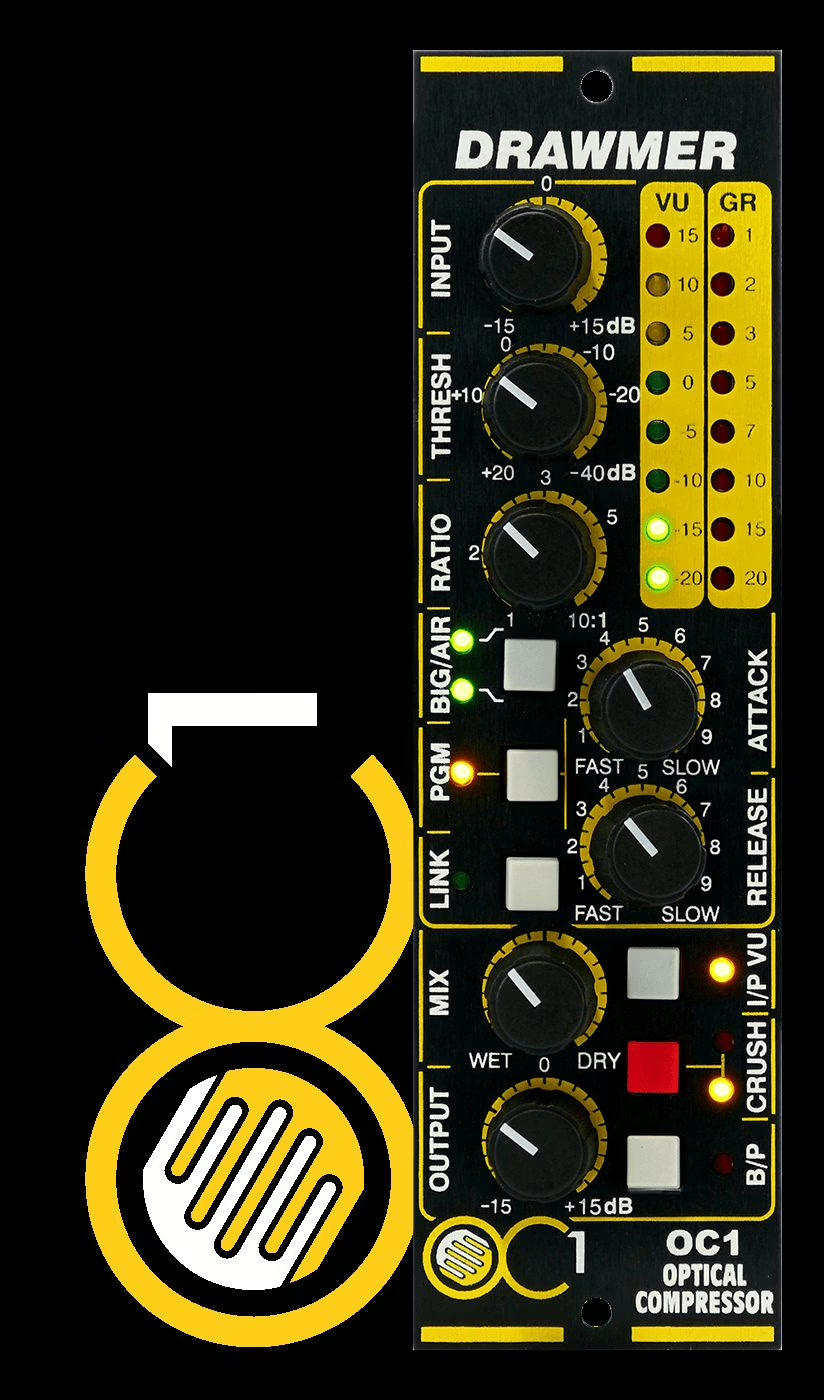
These families aren’t dogma: the same setting will sound different from one cell to another. The recent Drawmer OC1 and FC1 500-series compressors perfectly illustrate the opto/FET contrast in an identical box, while the Antelope Audio A4-1B pairs tube and opto for a rounder colour.
Attack and release: where it’s won or lost
These two controls make or break a treatment, and paradoxically they’re the most neglected. The field rule: set attack according to what you want to preserve or tame. On drums, a slightly slow attack lets the transient snap through before compressing the body; a fast attack flattens the impact and thickens instead. Release should breathe with the music: ideally, gain reduction returns to zero just before the next note or hit. Set it by ear, hunting for the point where compression turns invisible yet present.
Parallel, sidechain and bus compression
Three advanced uses are worth pausing on. Parallel compression (the New York trick) blends a heavily compressed signal with the original: you add density without sacrificing transients. Sidechain triggers compression from another signal, to duck a pad under a kick or build a de-esser. And bus compression, applied to a group or the mix, glues elements together for cohesion, often hand in hand with VCA groups and console bus routing.
Common mistakes and good habits
The most common one is over-compression: in trying to control everything, you flatten the life out of a sound. The second trap is judging the effect without matching level, because a louder signal always sounds better: always match gain before comparing. Finally, A/B constantly against bypass, and trust your ears over the VU needle. Three to six dB of gain reduction is often plenty; beyond that, ask whether the problem lies upstream, in the take or the arrangement.
Hardware or software?
There’s no dogmatic answer. I adopted all-digital production early and consider it fully viable: most of today’s software compressors are excellent, recall their settings instantly and cost a fraction of an analogue module. But a good hardware stage keeps its place when it brings something audible, not because a legend surrounds it. The criterion is always the same: the sonic result and the quality of design, never dogma. To colour your tracks without necessarily going hardware, our round-up of eight channel strips shows just how far the gap has closed.