The limiter is one of the most used and most misunderstood tools in the studio. It often gets treated as a magic “make it louder” button. That’s both true and dangerous: used well, it buys level and safeguards a master; pushed too far, it flattens dynamics and adds distortion. Let’s calmly go back over what it actually does, and how to use it without sacrificing the sound.
A compressor taken to the extreme
Technically, a limiter is a compressor with a very high ratio, close to infinity. Where a compressor gradually reduces whatever crosses a threshold, a limiter simply forbids the signal from crossing a ceiling. If you already understand compression and its parameters, you’ve got the gist: the limiter is the radical version, dedicated to peak control rather than shaping the sound.
The practical difference is intent. You compress to sculpt dynamics, add body, glue elements together. You limit for one reason: to stop overshoots and, along the way, raise the overall level without clipping.
Brickwall and output ceiling
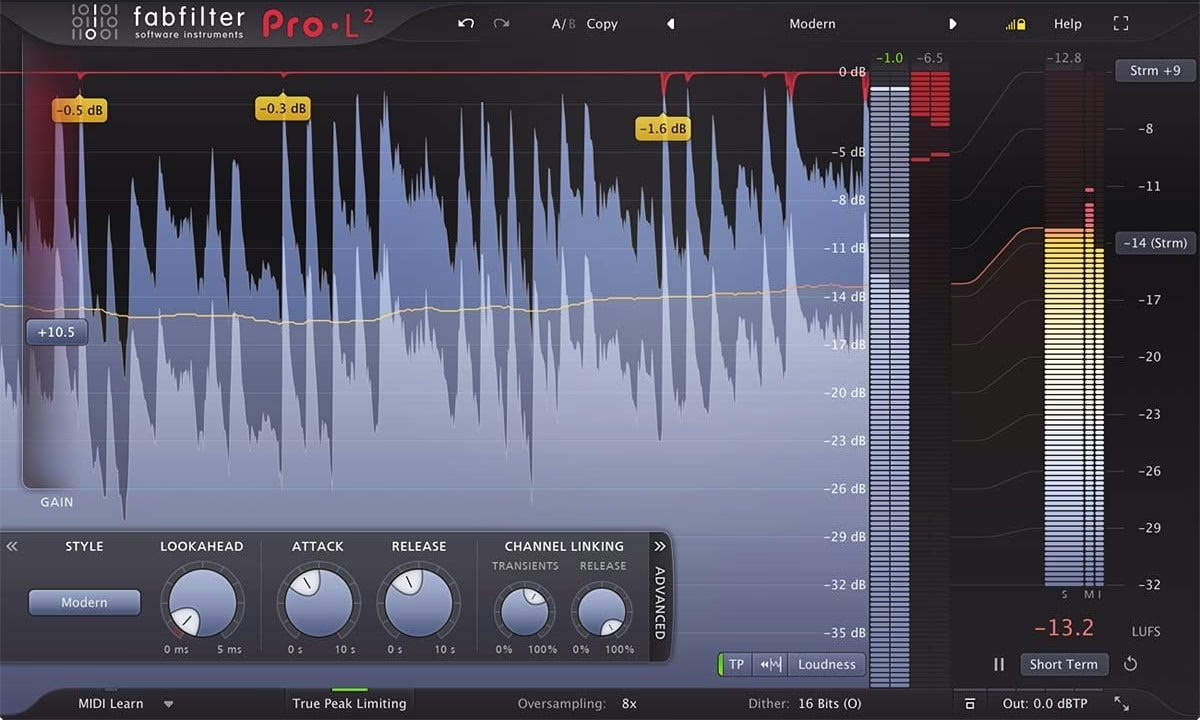
The modern mastering limiter is called brickwall: it guarantees nothing crosses the set ceiling, the output ceiling. You usually set that ceiling slightly below digital maximum: -1 dBFS, even -1.5 dB, to leave headroom. Why not aim for 0? Because of inter-sample peaks.
True peak and inter-sample peaks
A digital signal that appears to top out at 0 dBFS can, once converted back to analogue or re-encoded to MP3 or AAC, produce peaks above 0: those are inter-sample peaks. A true peak limiter anticipates and contains them, which prevents distortion on playback across platforms. This ties directly into the loudness and true-peak standards streaming and broadcast enforce.
Where to put the limiter
Its natural place is at the very end of the chain, after EQ, bus compression and any saturation. It seals the work, it doesn’t fix it. If you’re unsure about processing order, our guide to the mastering chain walks through this placement and the pitfalls.
You’ll find it elsewhere too: on a vocal bus to lock a few stray peaks, on a bass track, or as a safety net on the mix master bus before export. In every case it’s a safety net, not an effect in its own right.
The settings that matter
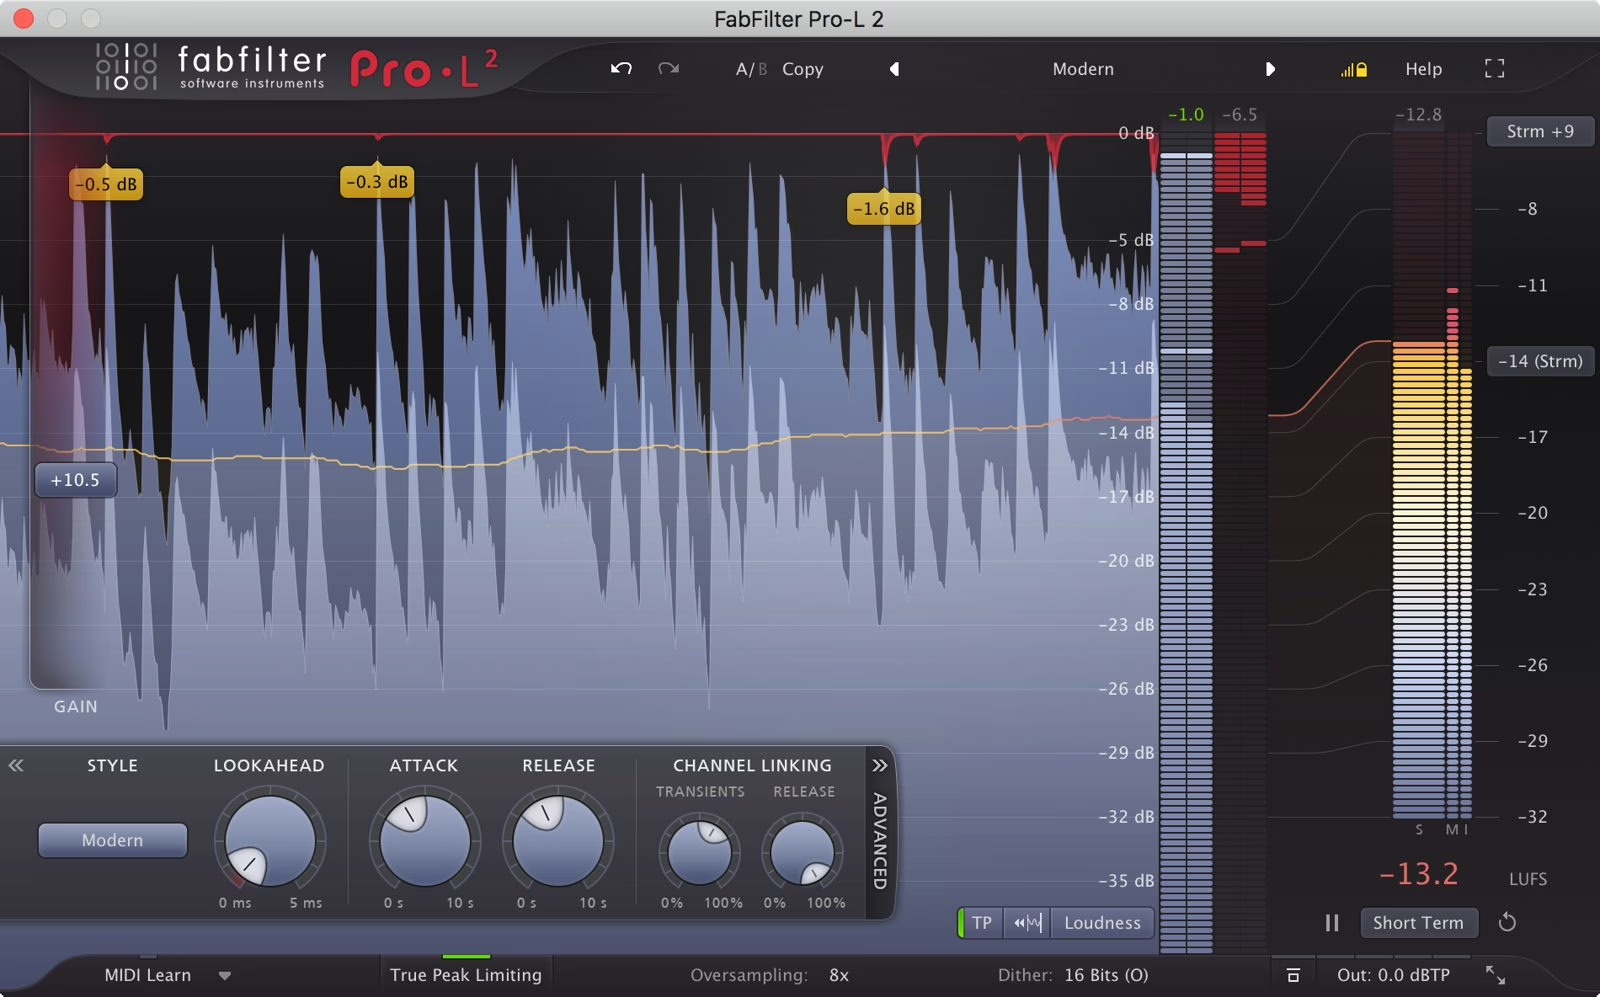
- Output ceiling: -1 dBTP is a healthy starting point for digital distribution.
- Input gain / threshold: the harder you push, the more reduction. Watch the gain reduction: a few dB go unnoticed, 6 dB and up start to show.
- Release: too fast and it pumps and distorts the lows; too slow and it chokes. Set it by ear, often in an adaptive mode.
- Lookahead: a short anticipation lets the limiter catch transients without clicking.
The classic traps
The first is over-limiting: chasing decibels flattens the music, tires the ear and kills impact. A “louder” track isn’t a better track, especially now that platforms normalise loudness. If you want punch without crushing everything, parallel compression is often a better answer than pushing the limiter. And when it’s only a few isolated peaks causing trouble, a peak-control tool upstream takes the load off the final limiter.
My take
The limiter deserves better than its reputation as a volume inflator. It’s a precision tool: set a clean ceiling, respect true peak, and stop the moment dynamics start to suffer. The real skill isn’t squeezing out the most decibels, it’s knowing when to back off. A master that breathes at -1 dBTP with two or three well-managed dB of reduction will almost always beat a saturated wall at full tilt. Level-match your references before you judge: you’ll be surprised how much “louder” fools the ear.