One mixing move keeps showing up on drums that hit, vocals that sit in front of the track, and mix buses that feel glued together: parallel compression. Its other name, “New York compression,” comes from the American studios that popularized it. The idea fits in a sentence: instead of compressing a signal and listening to the result, you blend a heavily compressed copy with the untouched original. You add two qualities that usually fight each other — the density of hard compression and the dynamics of the natural take.
Why blend instead of just compressing hard
A compressor set hard solves one problem and creates another. It reins in level swings, thickens the sound, lifts the quietest details — but it flattens transients, those micro-peaks that give a snare its crack or a syllable its bite. Push too far and the sound is dense but soft, present but lifeless.
Parallel compression sidesteps the dilemma. The compressed copy brings body, support, the “glue”; the original keeps the transients and the air. By dialing the blend, you pick the exact proportion of each world. It is an addition, not a compromise: you add density underneath the sound instead of taking dynamics away from it. That is why it pairs so well with ordinary compression, whose logic it extends.
How to set it up
Two paths reach the same result.
- Via an aux bus. Send the track (or group) to an aux bus, put a compressor on that bus, compress it hard, then bring the bus up underneath the original. This is the old-school method: transparent and fully controllable.
- Via a mix-knob plugin. Most software compressors now offer a Mix (or Dry/Wet) control. Set to 30%, it does exactly the same job: 30% compressed, 70% dry, in the same channel. Faster, and just as effective for most uses.
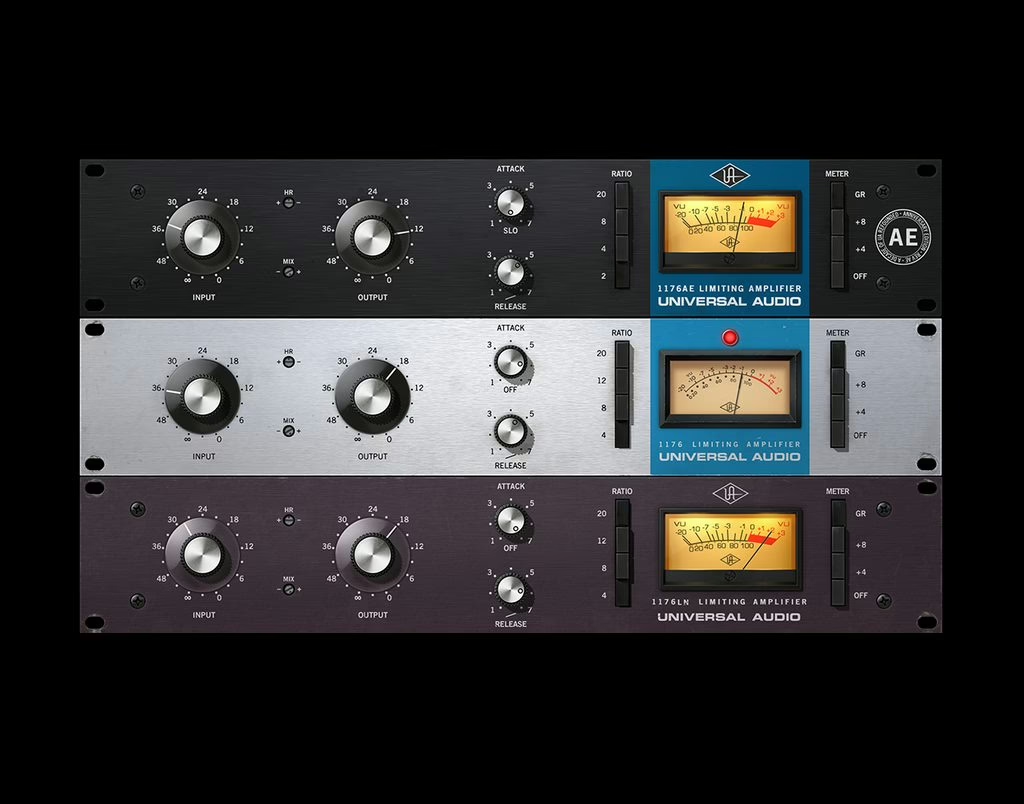
The typical setting for the compressed copy embraces the brutality: high ratio (4:1 to 10:1, or all-buttons-in on an 1176), fairly fast attack, medium-to-fast release, and heavy gain reduction — 10, 15, sometimes 20 dB. You are not chasing subtlety on this path: you want a dense, squashed signal to support the clean sound. You then set the amount by ear, easing the parallel path up until the sound “takes on body” without you hearing the compression work.
The trap to know: phase and latency
Because you are adding two versions of the same signal, any timing offset between them causes trouble. A plugin that adds latency on the compressed path, while the dry path has none, will produce phase cancellation — a hollow, filtered, unpleasant sound. On an aux bus, make sure your DAW’s latency compensation is on (it almost always is by default now) and be wary of hybrid analog processing that shifts a path. With an internal Mix control, the issue vanishes: the blend happens inside the plugin, in phase. It is the same care that good gain staging demands: mind what happens between stages.
Where it makes the difference
| Source | What parallel compression brings |
|---|---|
| Drums (bus or room) | Grit and energy without killing the attack of the shells; the absolute classic. |
| Lead vocal | Stable presence that stays up front without you having to crush the nuances of the performance. |
| Bass | Support and consistency in the low end without smothering the player’s touch. |
| Mix bus / master | Quiet cohesion, to use sparingly — a few percent is plenty. |
On drums, try a parallel bus compressed to the floor, brought up just under the original kit: the sound instantly gains weight without losing its snap. On vocals, parallel compression is often better than a single compressor pushed hard, because it lets the articulation breathe while locking the perceived level.
Do not confuse it with serial compression or sidechain
Parallel compression is not “extra” compression stacked on the channel: it is a path in parallel. Nor does it replace ordinary serial compression, still useful for taming a too-wide dynamic before you even think about grit. And it has nothing to do with sidechaining, where another signal triggers the compression. Many mixes combine all three: a little serial to tame, parallel to densify, sidechain to make room. The choice of compressor matters too — an aggressive FET or a fast VCA colors the parallel path differently from a gentler opto.
Finally, remember that parallel compression is a color tool as much as a dynamics tool. In the processing chain it lives at the mix stage, not the master: you densify tracks and buses with it, you do not “fix” a finished master.
My take
Parallel compression is one of the few techniques that feel like cheating: you get a bigger sound without paying for it in dynamics. The single most useful reflex is the Mix knob on the drum-bus compressor — thirty seconds of setup, an immediate gain in weight. The real risk is not technical, it is in the hand: love the effect too much and you stack parallel paths everywhere until the mix stops breathing. One source that needs it, an amount set by ear, and you stop. Kept in check, that parallel path is one of the moves that separate a mix that sounds from a mix that merely behaves.