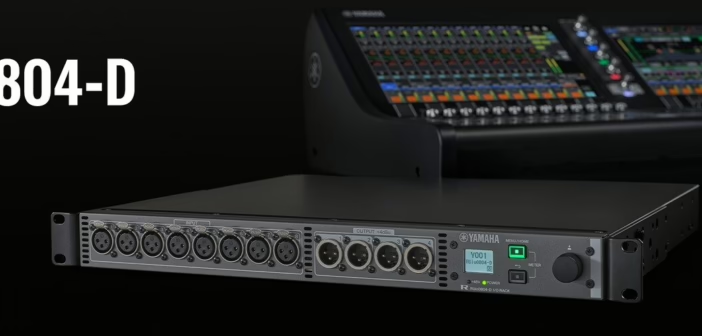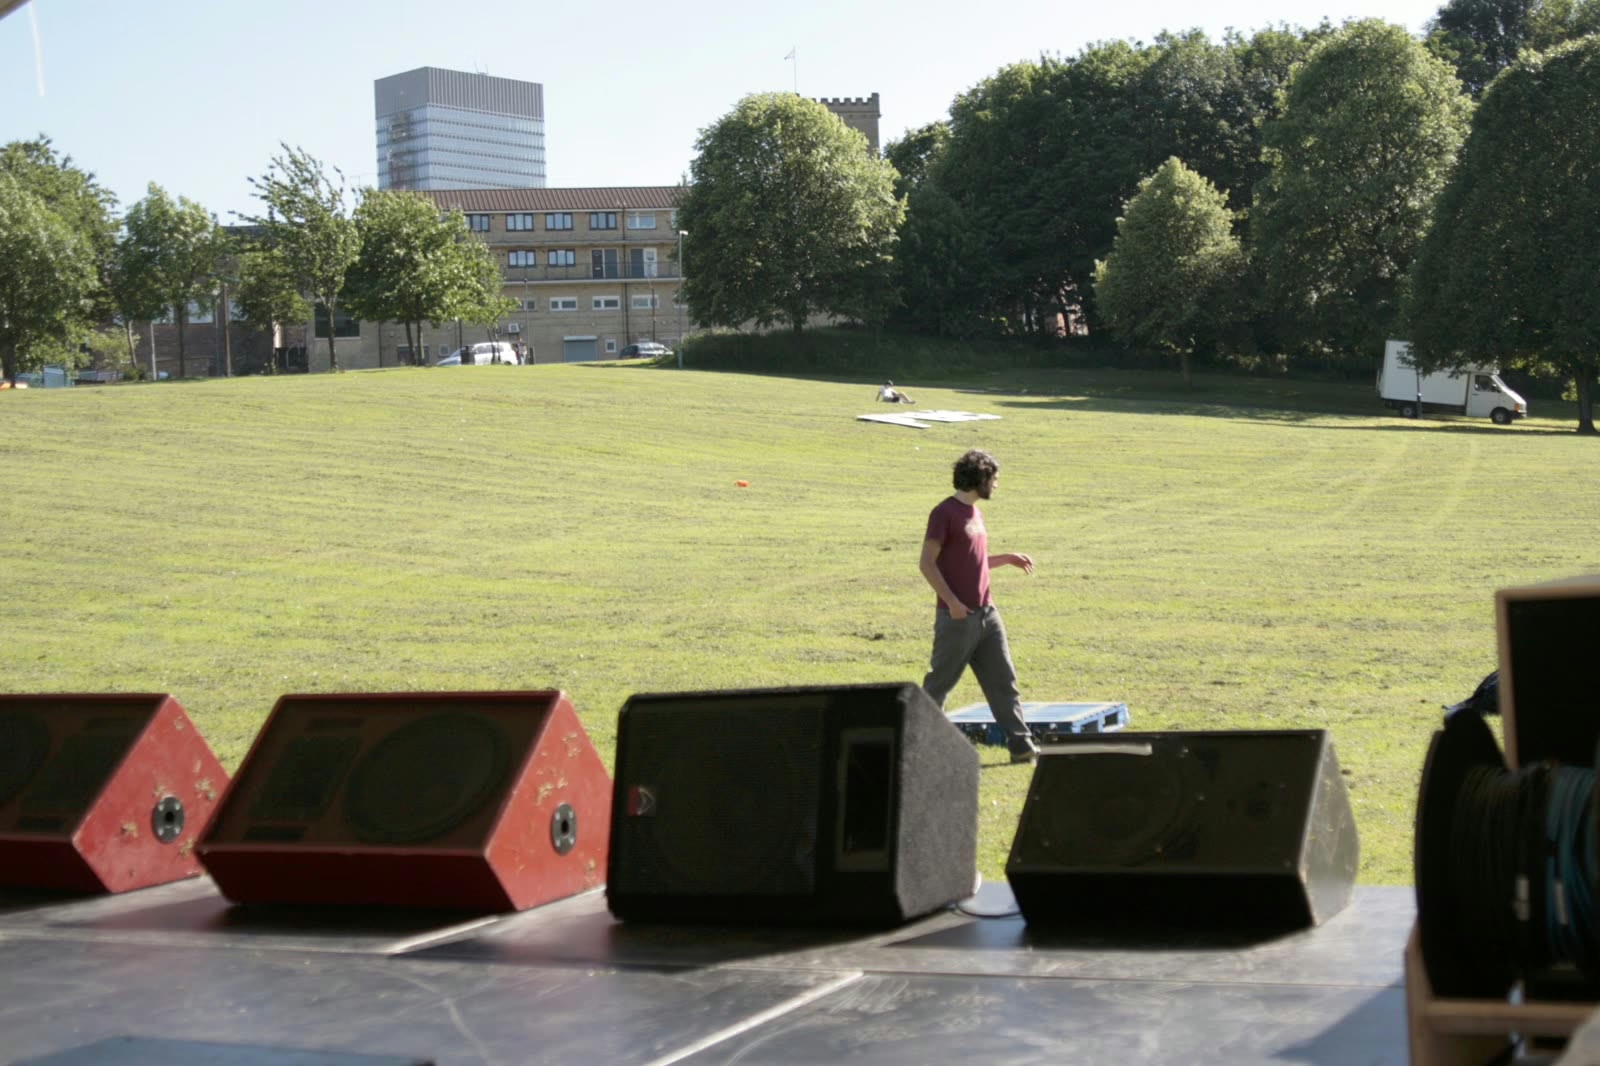
A stage monitor is not equalised the way a front-of-house cabinet is. Out in the room you EQ so it sounds good; on stage you EQ first to win gain before feedback, and intelligibility comes second. That inversion of priorities explains most failed settings: you go looking for a beautiful sound on a wedge and you end up with a wedge that rings the moment you open it.
- Feedback is a gain loop between microphone and loudspeaker: fight it with geometry before fighting it with EQ.
- Correct a monitor with narrow cuts, never with broad boosts.
- Finding the resonant frequencies — ringing out — happens before the musicians arrive, empty room but system in place.
- A high-pass filter on every channel feeding the mix frees more headroom than ten clever cuts.
- Level is set last, once the headroom has been won.
Understand the loop before correcting it
The microphone picks up the voice, the console sends it to the wedge, the wedge reproduces it, and the microphone picks it up again. As long as the signal returning through that path stays below the original, the loop dies away. The moment the loop gain reaches unity at some frequency, it sustains itself — that is feedback. It never starts at every frequency at once: it begins where the combination of microphone, room and cabinet presents a resonance.
The first lever is therefore geometry. A cardioid microphone has its minimum sensitivity directly behind it: that is where the wedge belongs. A supercardioid has its null slightly off to the sides and rejects less from directly behind — two wedges at an angle suit it better than one head-on. Moving a monitor thirty centimetres sometimes wins more than a whole equalisation session.
Finding the resonances
The traditional method is called ringing out. System in place, room empty, musicians absent: you raise the monitor level gradually until a frequency starts to sing, identify it, cut it, and start again. Each cut hands back a few decibels of headroom, until the next resonances are too numerous or too close together to be worth chasing.
Two rules make this efficient. Cuts must be narrow — a high Q, a width of a third of an octave or less — because a broad cut removes music along with the resonance. And they must be moderate: three to six decibels is almost always enough. A fifteen-decibel cut does not signal a stubborn resonance, it signals a problem somewhere else.
Correct before the output equaliser
The habit that pays most is not on the output bus but on every channel feeding the monitor. A high-pass filter set above the source’s fundamental — around 100 Hz for a male voice, higher for a female voice — removes low-mid energy from the wedge that contributes nothing and adds massively to the mud on stage. Applied across every channel on a stage, it changes the nature of the sound more reliably than any correction downstream.
The second habit is not sending the useless sources. A hi-hat microphone open in the singer’s wedge produces feedback at four kilohertz with nobody benefiting. Every source added to a monitor mix eats headroom: that is the subject of our guide to mixing stage monitors for a band.
These processors find resonances and place cuts by themselves. They genuinely help in venues with occasional operators, and they have a structural flaw: they cannot tell a resonance from a sustained note. On a held vocal or an instrument with long tones, they end up digging holes in the music. Reserve them for setups with no engineer, and keep an eye on them everywhere else.
Set the level, last
Once the headroom is won, level is simple — and it is set where the musician stands, not at the mix position. The useful benchmark: the wedge should let them hear without pushing, while still letting the rest of the stage through acoustically. A monitor that completely covers the environment isolates the musician from the band and pushes everyone to turn up.
The final check is to raise the level to the point of ringing and then come back down six decibels. That reserve absorbs what soundcheck does not show: a singer cupping the microphone, a room that fills and changes its response, a musician who moves. Without it, a system set perfectly at soundcheck rings on the first song.
An empty room and a full room are not the same acoustic space. An audience absorbs high and high-mid content, which gains you headroom in those registers — but it changes almost nothing in the bass, where room resonances stay exactly as they were. In practice: cuts placed in the low mids remain valid all night, cuts placed in the top end often become unnecessary the moment the room fills. That is a good reason not to over-correct the top end during soundcheck.
When EQ is no longer the answer
If you are at eight cuts and the system still rings, the problem is no longer in the correction. The real causes are almost always one of three: a badly placed wedge relative to the microphone’s directivity, an unsuitable microphone — a large-diaphragm condenser on a loud stage is an invitation to feedback — or a stage that is simply too loud, forcing every monitor beyond what is reasonable.
In that last case the real solution is often to leave the wedge behind. Our article on when in-ear monitors make sense frames that decision — for a system that, by construction, knows no feedback at all.
Frequently asked questions
Which frequencies should I cut on a stage monitor?
There is no universal list: resonances depend on the microphone, the wedge, the room and their relative positions. The zones that come up often sit in the low mids, between 200 and 500 Hz, and around 2 to 4 kHz. But a cut placed in advance without listening degrades the sound and guarantees nothing.
Graphic or parametric equaliser?
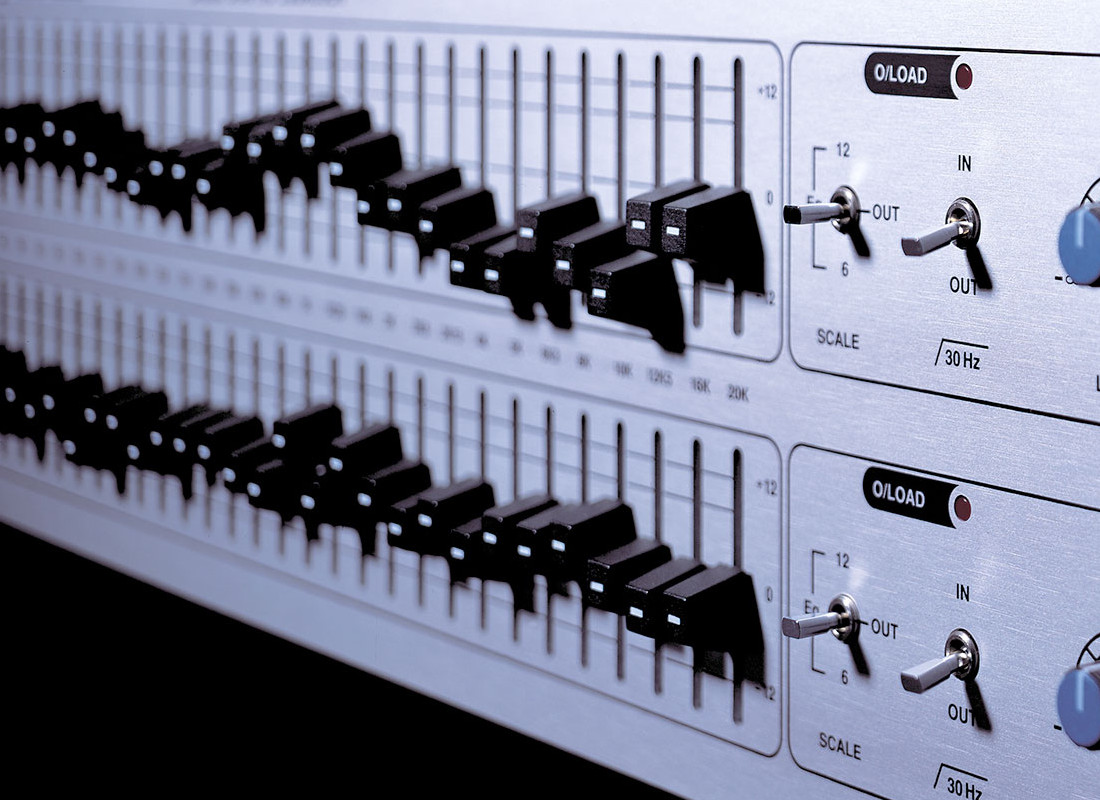
Parametric is better for this job, because it lets you choose the width of the cut and centre it exactly on the resonance. Graphic stays quicker to handle live, which explains its longevity on stage.
How much headroom should I keep before feedback?
About six decibels. That is what it takes to absorb the room’s change of response once full, musicians moving around, and variations in microphone technique.
Why does my wedge only ring once the room fills?
That is rarer than the opposite, and it usually means the musicians are pushing — louder voices, guitar amp turned up — rather than that the acoustics changed. An audience tends to hand you headroom in the mids and highs.