Drums are the most demanding source on a stage: several shells, huge levels, mics that hear each other, and a drummer who needs a reliable monitor. In the studio you have time and silence; on stage you have neither. Here is how to build an effective mic plan and tame it in a few minutes of soundcheck.
What changes between studio and stage
Three constraints rule live work. First, acoustic level: a kit plays loud, mics catch violent peaks, and the kick spills across the whole stage. Second, bleed: every mic also hears the neighbouring shells, the cymbals and sometimes the monitors. Third, time: you do not get an hour to place an overhead to the millimetre. The goal is not studio perfection but a solid, stable sound that does not set off feedback in the monitors.
The mic plan, shell by shell
Kick drum
A dynamic mic built for low end (a large-diaphragm model with a scooped midrange) placed inside, near the batter head for attack or further toward the centre for body. This is where the mix’s punch is won.
Snare
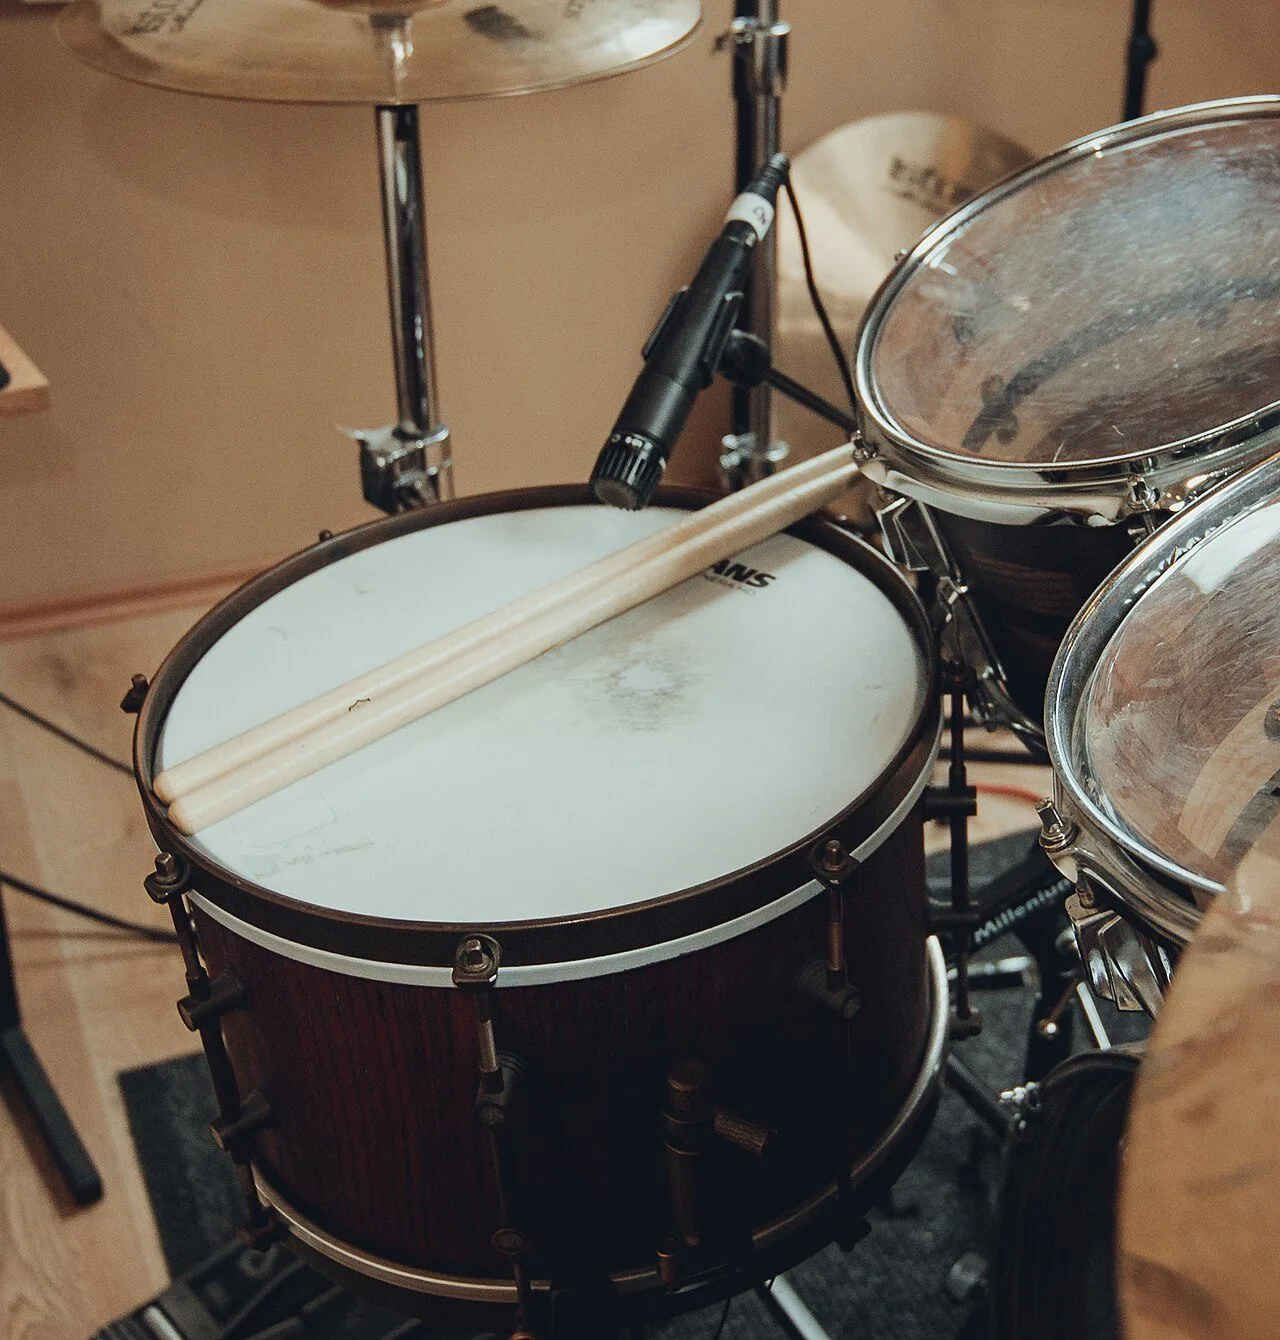
The classic cardioid dynamic aimed at the centre of the head, an inch or two away, angled off the hi-hat. A second mic under the snare can add grit, as long as you flip its phase. The same principles of angle and distance apply as everywhere else: see our guide to microphone placement.
Toms
Clip-on mics on the rims save precious time and free up the drummer’s playing. Aim at the head, just inside the rim, and roll off the unneeded lows to limit kick bleed.
Hi-hat, cymbals and overheads
Two condensers overhead capture the whole kit and the stereo image: they often make the overall sound, with the close mics only adding punch. On a small, loud stage, a well-placed pair of cardioid overheads beats eight badly managed mics.

Phase, bleed and gating
With that many mics on one source, phase is your first job. Check coherence between the snare and the overheads, and between the two snare heads: a single polarity flip can make the low end full or hollow. If the topic is fuzzy, revisit phase vs polarity. For bleed, a high-pass filter on each track and gently set noise gates clean up the kit without chopping it. Do not overdo gates live: a gate slamming shut on a soft hit is far more audible than a little bleed.
Drums and monitoring
The drummer is often the hardest to satisfy in the monitors: they play loud and already hear the kit acoustically. Suitable stage monitoring, wedge or in-ears, changes everything, especially with a click. Think about the whole stage signal path too: a well-organised patch and stagebox keeps you from hunting for a shell the moment the band starts. And keep an ear on gain before feedback: the more open mics you have near the monitors, the thinner your margin.
My take
A well-miked kit starts before the mics: a tuned drum with fresh heads saves more mixes than a boutique preamp ever will. On stage, bleed is not the enemy, it is what glues the kit together, so you tame it rather than kill it. Keep the mic count low on a small, loud stage: kick, snare and a pair of overheads already give you most of the sound. The rest is placement and phase, and that costs nothing.