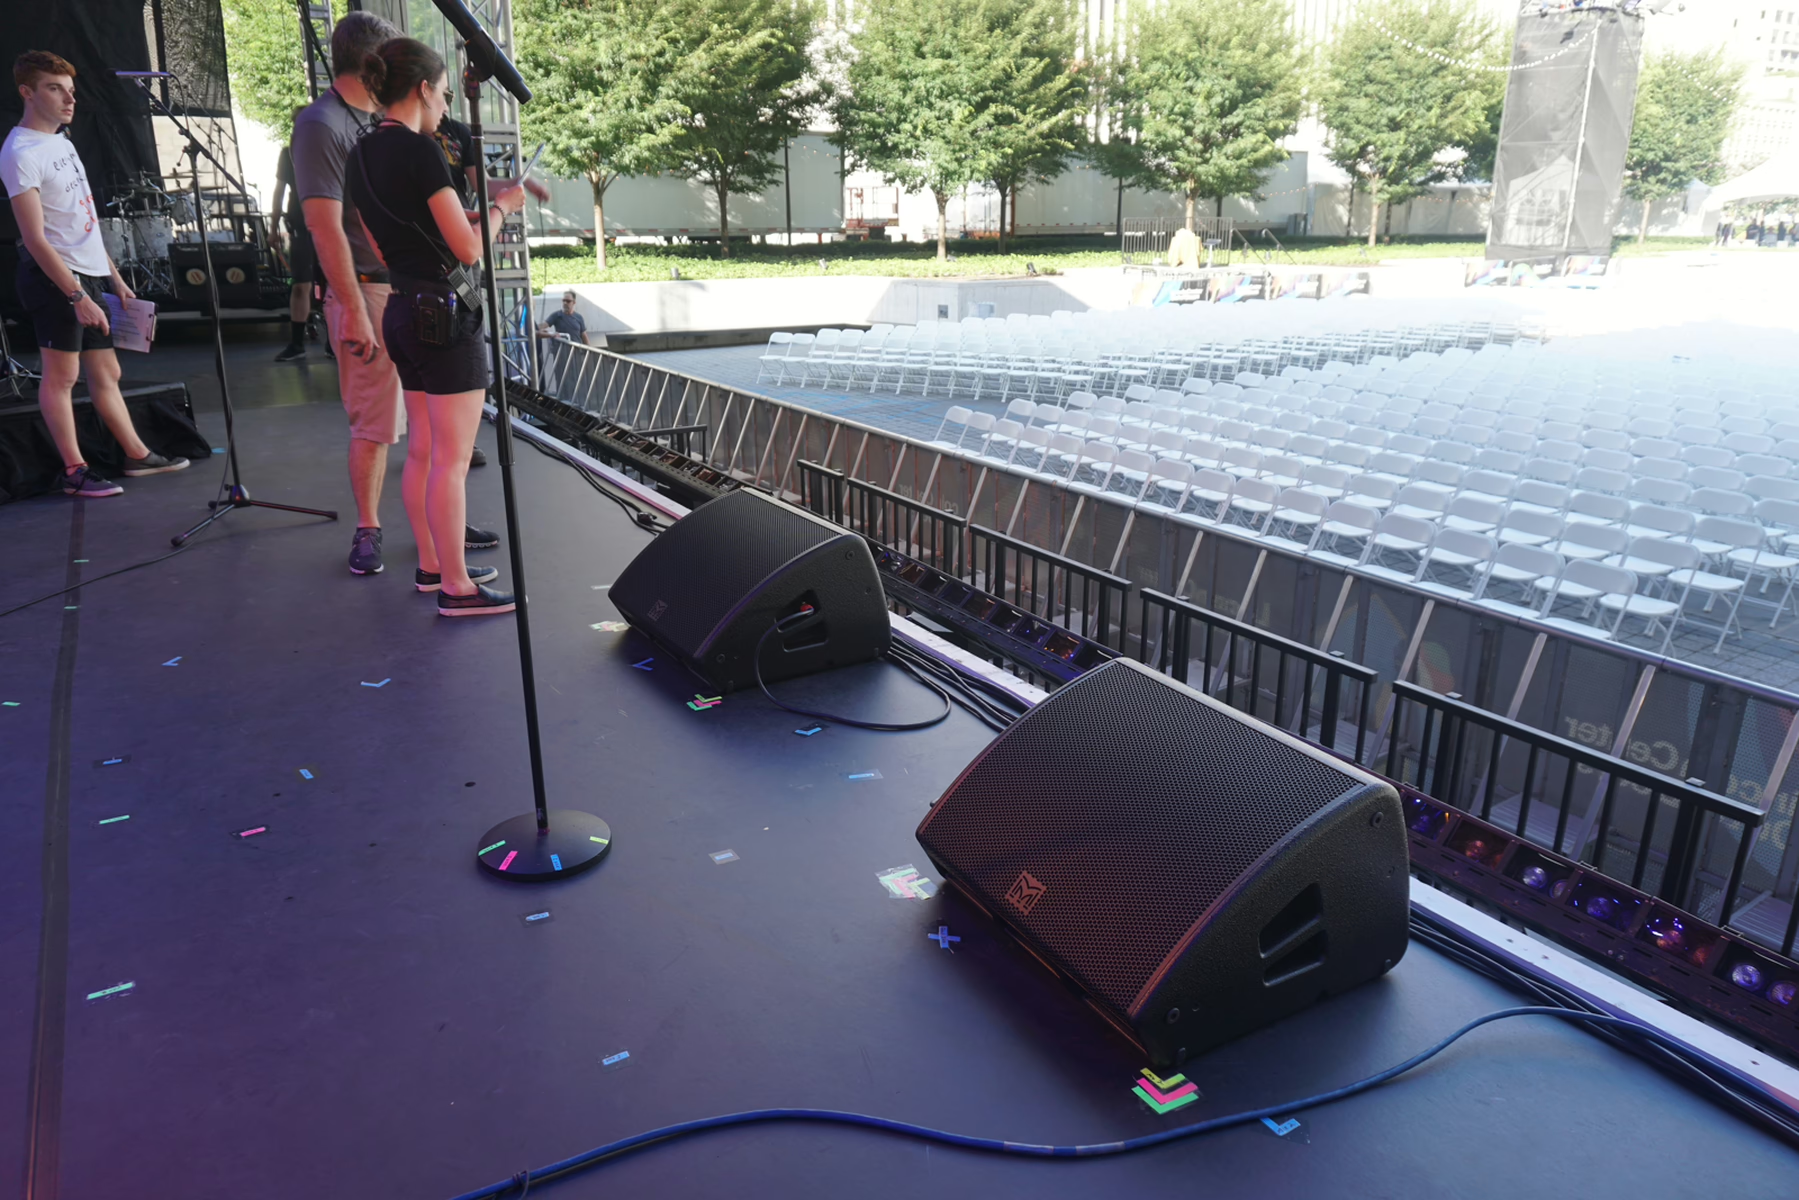
Connecting a stage monitor is a simple job, provided you start in the right place. Most mistakes come from the same move: hunting for a free socket on the back of the console instead of asking which send should feed that wedge. This guide gives the complete wiring diagram, from the mix bus to the loudspeaker sitting on the floor, in both configurations — powered cabinet or passive cabinet with its amplifier.
- A monitor is fed from an auxiliary bus set to pre-fader, never from the main output or the headphone socket.
- The console-to-stage link runs at balanced line level, on XLR or TRS jack.
- With a powered cabinet, that cable goes straight to the monitor. With a passive cabinet, it goes to an amplifier first, then a speaker cable reaches the wedge.
- A speaker cable is not a line cable, and confusing the two is a one-way ticket to a fault.
The wiring diagram, from bus to loudspeaker
Everything starts at an auxiliary bus — called aux, mix or monitor depending on the brand. That bus builds a blend independent of the one going to the audience, and it leaves through a dedicated socket on the back of the console. That socket, and no other, feeds the wedge.
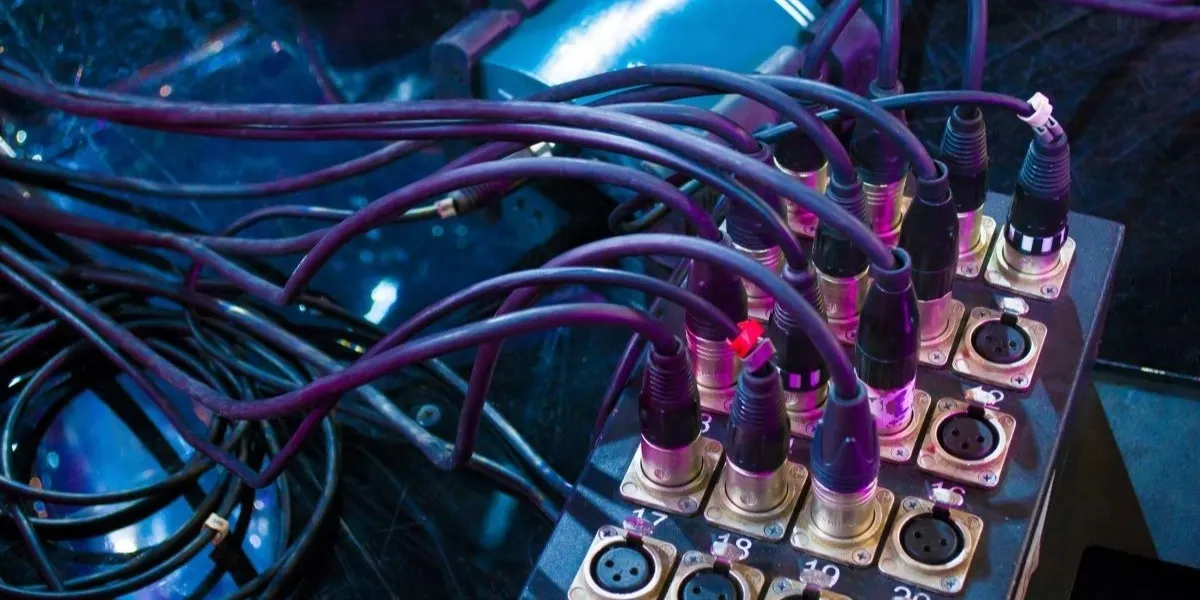
Three details make this diagram usable in the field. The cable between console and powered cabinet is an ordinary balanced mic cable, male-to-female XLR; runs of twenty or thirty metres cause no trouble at all. The cable between amplifier and passive cabinet is a speaker cable, far heavier gauge, usually terminated in Speakon: it carries power, not signal. And if you are working through a stage box, the monitor plugs into the box’s return legs — the sockets marked with letters rather than numbers.
Finding the right output on the console
This is where people go wrong. The sockets on the back of a console all look alike, and three of them seem to fit when only one is correct.
| Output | Suitable? | Why |
|---|---|---|
| AUX OUT / MIX OUT | Yes | Independent blend, adjustable per channel, immune to the FOH fader when pre-fader |
| MAIN OUT / L-R | No | That is the audience mix: the musician would hear the room, with no balance of their own |
| Headphone output | No | Wrong level and impedance, and any headphone tweak at the mix position changes the stage |
| Insert | No | A break point on a single channel, not a mix output |
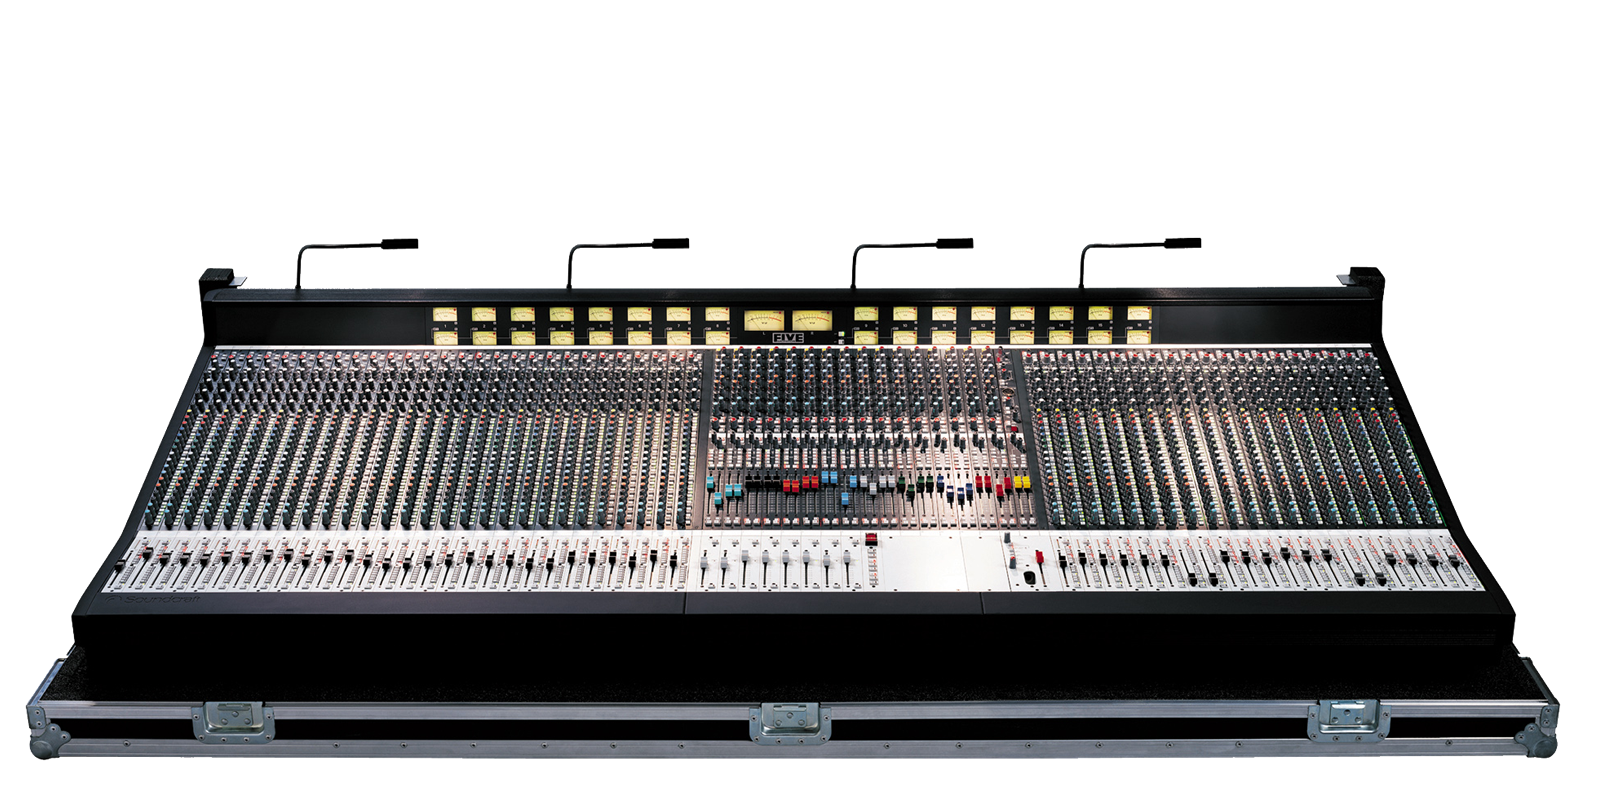
On an analogue console the auxiliary output is a physical socket marked AUX 1, AUX 2 and so on. On a digital console you have to go through the output patch to assign the bus to a socket — an extra step covered in our guide to routing and buses on a digital console.
The connection sequence, in order
Order matters, mostly to keep thumps out of the loudspeakers. Everything is off and every level is at minimum before the first cable goes in. Then link the console to the wedge — directly if it is powered, through the amplifier if it is passive. Power up in the direction of the signal: console first, amplification last. Bring the auxiliary bus master to its nominal mark, then dial in each source from the channel sends.
At shutdown, do exactly the opposite: amplification first, console last. That is the only reliable way to avoid the characteristic thump that, over time, damages drivers.
Never plug a speaker cable into a line output, and never run a mic cable between an amplifier and a passive cabinet. The first produces nothing at all; the second, with its thin conductors, heats up and can let go at full power. Speakon connectors exist precisely to make the confusion impossible — but when both ends are quarter-inch jacks, nothing protects you. Label your cables.
Setting the level without walking into a trap
Once the wiring is done, gain structure runs from the general to the particular. Put the auxiliary bus master at its nominal mark — not wide open, not half closed. On a powered cabinet, set the wedge’s input gain to the manufacturer’s mark as well. Then build the blend by raising the sends the musician actually needs, starting with their own voice or their own instrument.
The habit to acquire in the first minute: confirm the send is set pre-fader. A monitor built post-fader works perfectly during soundcheck and then disappears the moment you pull the channel down at front of house. The mechanism and its consequences are covered in our article on auxiliaries on an audio mixing console.
On a stage that turns around quickly, time is lost not on the wiring but on working out which cable goes where. A convention you actually keep is worth more than any diagram: monitors always on the first buses, the same left-to-right order as on stage, and physical labels at both ends of every cable. The day someone else takes over the get-in, that discipline is the difference between ten minutes and an hour.
Once it is connected
Wiring is only the start. You still have to pick the right cabinet, then build blends that hold up — which is the subject of our guide to mixing stage monitors for a band. And if nothing comes out at first power-up, our troubleshooting guide for a monitor that will not work goes through the causes one by one.
Frequently asked questions
Can a monitor be fed from the console’s main output?
Technically yes, musically no. The musician would get the mix built for the audience, in the same proportions — so without their own voice pushed forward and with sources they have no need to hear. An auxiliary bus exists precisely to avoid that.
How many monitors can be connected to one console?
As many as it has auxiliary buses, provided the matching physical outputs exist. A console with four auxiliaries allows four different blends — though nothing stops two wedges sharing one bus if two musicians want the same thing.
XLR or jack for a stage monitor?
XLR is preferable: locking, balanced and robust. A TRS jack is fine too as long as it is balanced. Avoid unbalanced mono jacks over any distance; they pick up everything going on around them.
Nothing comes out although everything is plugged in — where do I start?
With the pre/post state of the send, then the auxiliary bus master, which is very often still at zero. Those are the two most frequent causes, before you suspect a cable at all.