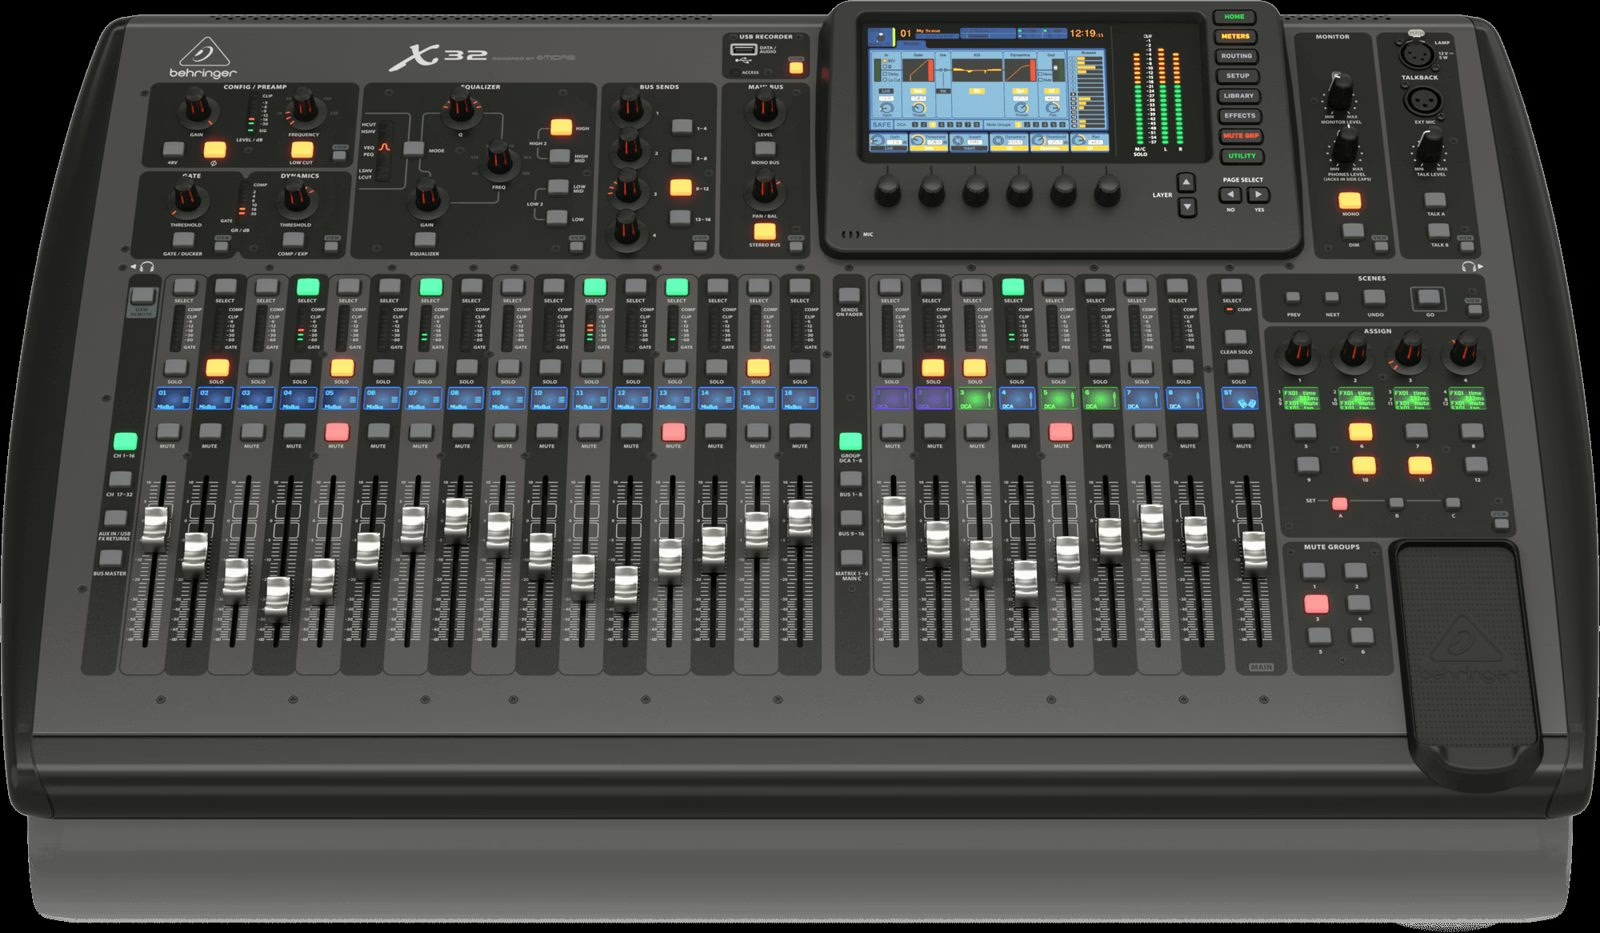
The Behringer X32 and its cousin the Midas M32 democratised a move once reserved for big systems: recording a whole concert in multitrack, then replaying the tracks through the console to tune the PA in peace. You just need to pick the right method and avoid the routing traps. Here is the complete guide, from the SD card to the DAW.
The three ways to record on X32 / M32
The X32/M32 platform offers three recording paths, which you can combine:
- To a computer, via the X-USB card: the full X32 ships with a 32-in / 32-out USB audio interface card. A single USB cable links the console to a computer, and your DAW sees 32 tracks ready to record.
- To an SD card, via the X-Live card: this expansion card (sold separately) turns the console into a standalone 32-track recorder on SD/SDHC cards, no computer needed. Two slots let you chain or secure the recording.
- Via a network card: Dante, MADI, ADAT or Waves SoundGrid, depending on the card fitted, to slot into an existing infrastructure.
For a simple, reliable concert recording, the SD card via X-Live is often the safest option: nothing to crash, no computer to babysit during the show.
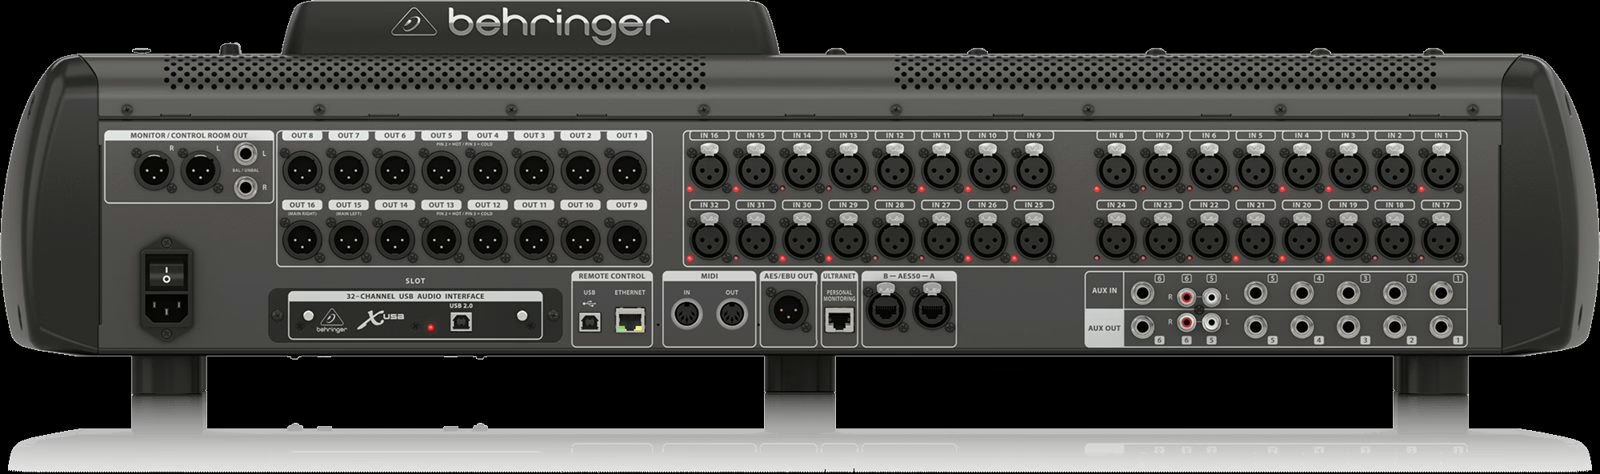
Method 1: multitrack to a computer (X-USB)
Install the card driver (ASIO on Windows, Core Audio on macOS) and connect the console to the computer. In the console’s Routing section, send the 32 inputs to the 32 card outputs: that is the stream your DAW will capture. Create 32 armed tracks, each assigned to a card input, and hit record.
The thing to watch is the tap point of each channel: you can record the signal before or after the console’s processing. To keep full latitude for a later mix, record upstream – right after the preamp, before EQ and dynamics. You keep a raw signal you can rework at will.
Method 2: record to an SD card with X-Live
With the X-Live card, everything happens in the console. Select the card as the recording source, choose the tap point for the 32 channels, insert a fast enough SD card and start the session. The console writes multitrack WAV files, ready to replay. At the end of the show, two options: replay the tracks straight into the console (see below), or extract the files to a computer to mix them in a DAW. Behringer’s companion app makes that extraction easy and preps the files for your software.
A field tip: always test your SD card before the day. A card that is too slow causes dropouts during recording, and you only notice once the concert is lost.
Routing: the gain trap
The golden rule of live recording on these consoles is the tap point. If you tap after the fader and processing, your tracks already carry the night’s EQ, compression and fader moves: impossible to start over at mixdown. If you tap before, you record the signal close to the source, only shaped by the preamp gain. That is almost always what to aim for. So set your input gains carefully during soundcheck: a well-used DI box on line sources helps as much as good mic placement.
Virtual soundcheck: the real reason to record
Beyond archiving, the major asset of these consoles is the virtual soundcheck. The principle: you record a song during soundcheck or at a first gig, then feed those tracks back into the console channels in place of the mic inputs. The console “thinks” the band is playing while the room is empty. You can then set the PA, fine-tune monitors, test EQs and tune the sound system without tying up the musicians.
Technically, you just switch the channel source from “local inputs” to “card”: the 32 recorded tracks replace the mics. It is a huge time-saver, and priceless comfort when the soundcheck window is short.
Format, sample rate and recording time
The platform records in WAV, at the console’s sample rate – 48 kHz is the reference setting for live work, both for compatibility and for the balance between quality and write throughput. On an SD card, long sessions are automatically split into successive files to stay within the file system’s limits; your software stitches them back together on import without trouble. Plan for plenty of capacity: thirty-two tracks at 48 kHz eat several gigabytes per hour. Finally, make sure the console and the computer run at the same rate during a USB recording: a clock mismatch shows up as clicks on playback. This ties back to the fundamentals of clean system operation, where nothing should be left to chance the night before a show.
Variants across the range
Everything above holds for the whole family: full X32, X32 Compact, X32 Producer, X32 Rack and X32 Core share the same engine and the same expansion cards. On the Midas side, the M32 and its variants sit on the same platform and take the same cards. The one difference to know: the X-USB card is included on the full X32, but sometimes has to be added on the most compact models, and the X-Live is bought separately. Check exactly what your machine came with before building your recording chain. To compare with today’s competition, see our piece on the Yamaha DM5 and DM5 Compact consoles.
My take
Recording a concert on an X32 or M32 is the best effort-to-reward ratio in the whole live chain. For the price of an SD card, you walk away with a usable multitrack and, above all, the chance to tune your PA cold the next day. The one reflex to lock in is tapping upstream: record raw and you will thank yourself at mixdown. The virtual soundcheck turns a constraint – the ever-shrinking soundcheck slot – into quiet luxury. Hard to find anything more cost-effective in a control position.