We spend hours choosing a mic and seconds placing it. It should often be the other way round. On vocals, the mic’s position shapes tone, presence and the amount of room in the sound far more surely than any plugin added afterwards. A mid-range mic placed well will always beat a dream mic placed at random. Here is how to set what gets decided before you record: distance, angle, the proximity effect and plosive control.
Distance: the first setting
The distance between mouth and capsule is the most powerful control you have, and the one most often ignored. It affects three things at once: the amount of low end (via the proximity effect, see below), how much room you capture, and the headroom before clipping or plosives. For a pop or rock lead vocal, a distance of around 15 to 25 cm is a good starting point: close enough for an intimate, direct sound, far enough that every consonant does not explode into the diaphragm.
Move in and the voice turns big, warm, confidential — the “radio” or “crooner” sound. Move back and you let the room in, with more air and realism but also more stray reverberation if the acoustics are untreated. There is no universal right answer: there is a production intent and a room. Try three distances on the same line and listen on headphones; your ear will decide faster than any rule.
The proximity effect: ally and trap
Directional mics — cardioids above all — boost the low frequencies as you move closer to the capsule. That is the proximity effect. Dialled in well, it gives body and authority to a thin voice. Overdone, it turns the sound muddy and cluttered, then forces you to scoop the low mids with EQ to repair what distance would have fixed for free.
The pro reflex: use distance as a first equaliser. An already-deep male voice benefits from backing off a little; a light female voice can move in to fill out. If you absolutely must sing very close, a gentle low-cut (around 80-100 Hz) cleans the excess without harming the tone. And since a condenser mic needs its 48 V phantom power, make sure it is on before hunting for a level problem elsewhere.
Angle: aim it right
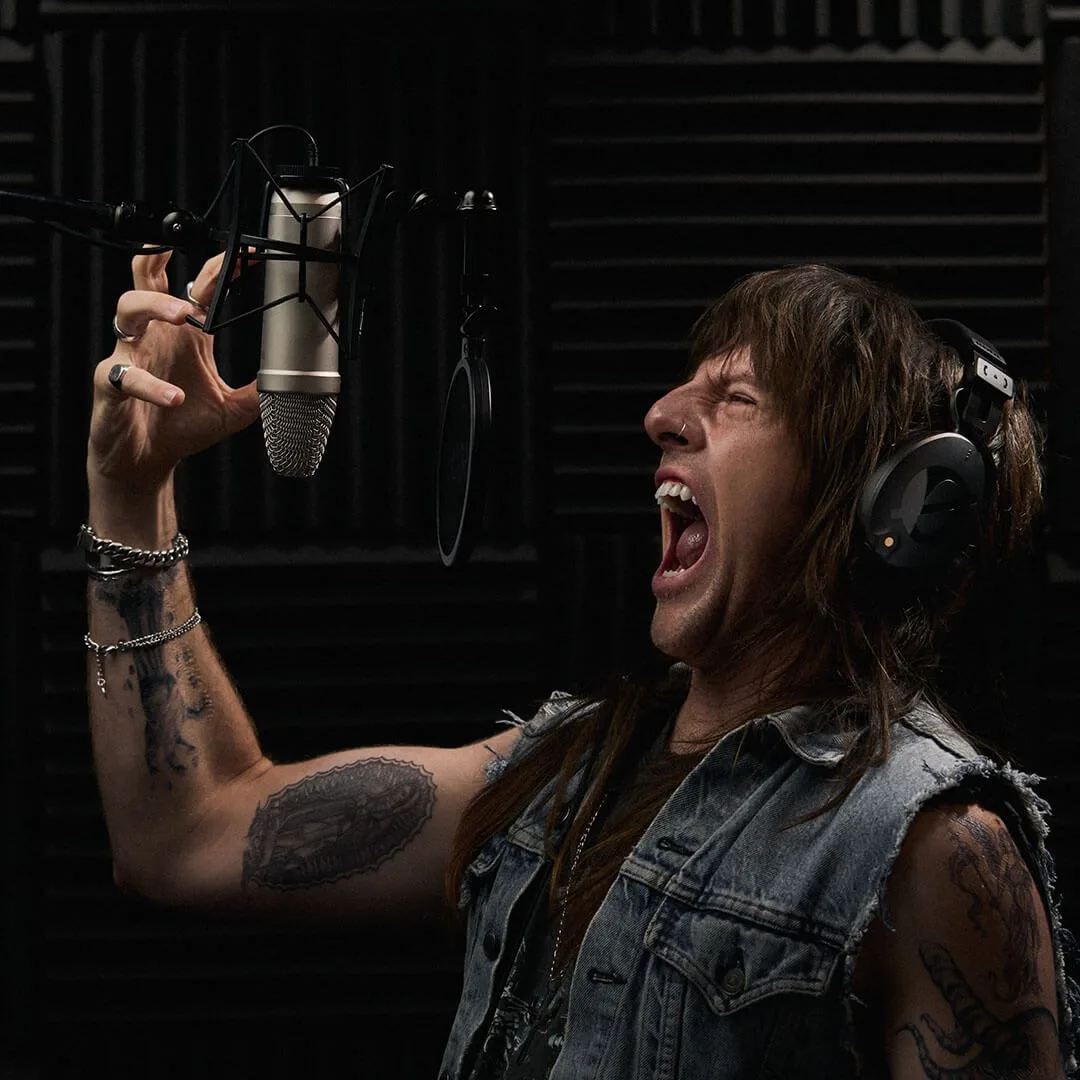
A mic does not hear the same way depending on the angle at which the source hits it. On-axis (the capsule pointed straight at the mouth), the sound is brightest and most detailed — but also most sensitive to sibilance and plosives. Slightly off-axis, moving the mic a few centimetres up (aiming at the nose) or down (aiming at the chin or sternum), you soften harsh highs and tame the “s” and “p” sounds without touching the EQ.
It is a tone tool in its own right. A too-bright, aggressive voice calms down when you aim slightly below the mouth; a dark, muffled voice brightens when you return on-axis. Again, a few centimetres change everything: move, re-listen, repeat. This aiming logic shows up as soon as you use several mics, where angle also drives phase, as covered in our piece on stereo miking techniques.
The pop filter and the windscreen
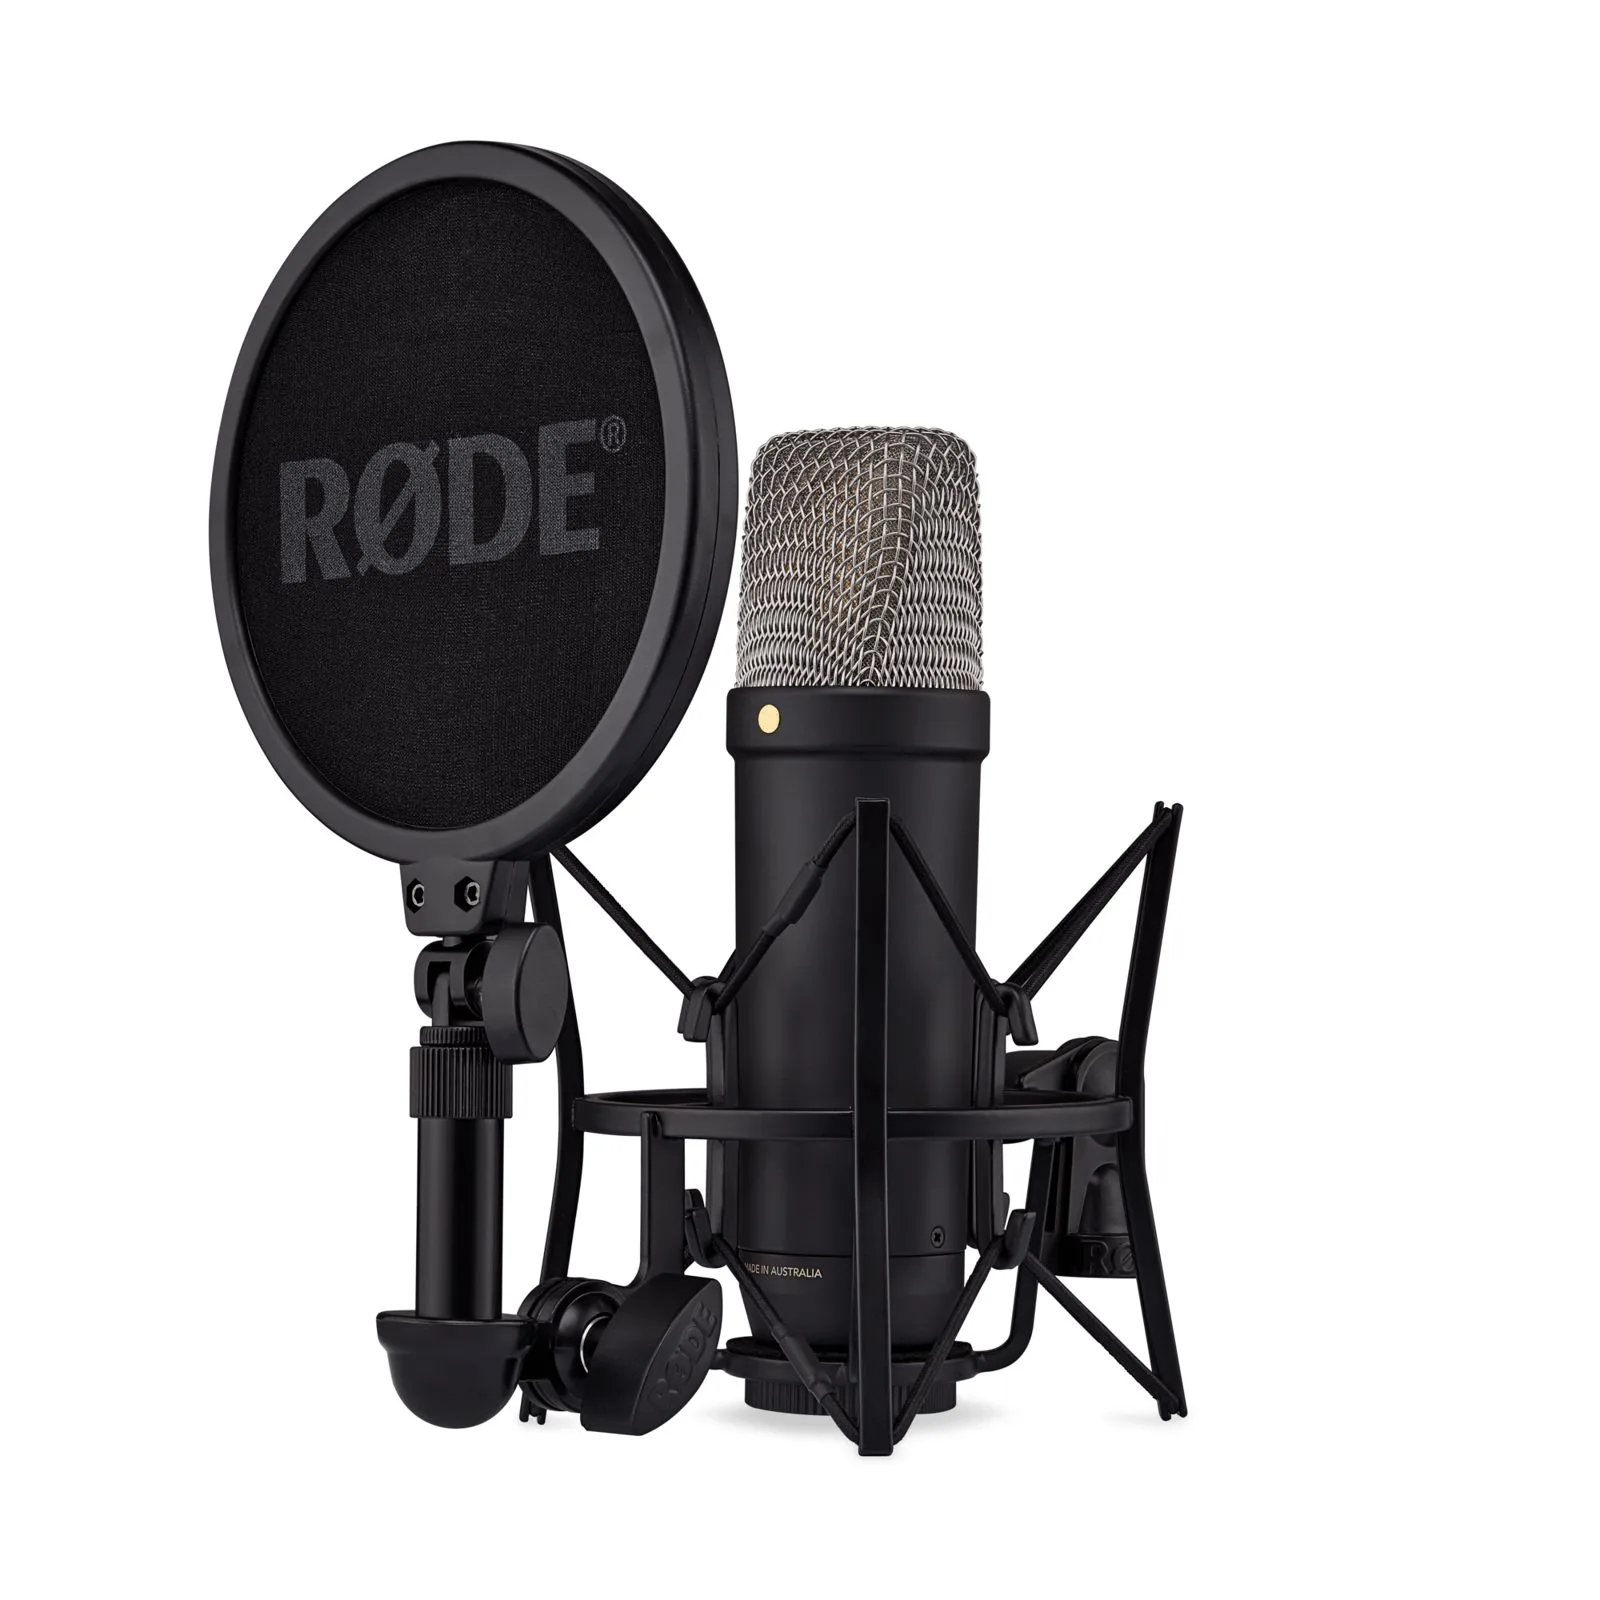
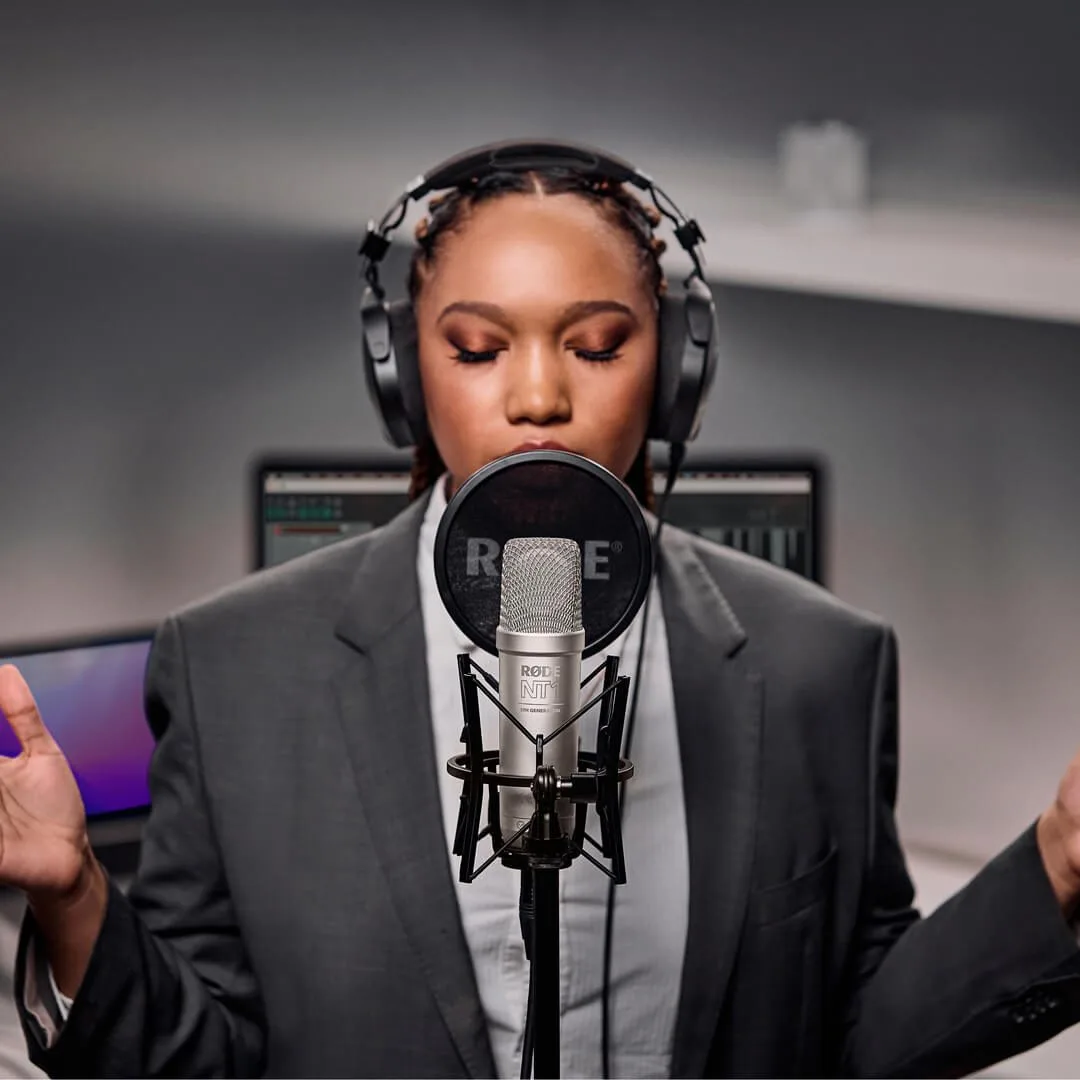
Plosives — those bursts of air on “p”, “b” and “t” — hit the diaphragm and produce a dull “pop” that ruins an otherwise perfect take. The fix comes in two objects. The pop filter, set a few centimetres in front of the mic, breaks the blast before it reaches the capsule; it also usefully enforces a minimum distance for the singer. The foam windscreen mainly protects against wind outdoors and is less effective on studio plosives.
Field tip: if the pop persists despite the filter, move the mic slightly off-axis (see above) so the blast passes beside the diaphragm rather than into it. The combination of distance, angle and pop filter solves almost every plosive problem, with no compressor or after-the-fact correction.
The room matters as much as the mic
A vocal mic captures the voice, but also everything the room reflects back at it. In a reverberant space, early reflections return into the capsule and “smear” the take with a resonance no processing removes cleanly afterwards. Before investing in a better mic, treat the walls: a few absorbers at the reflection points do more for clarity than a capsule swap. Our guide to studio acoustic treatment explains where to place them.
A simple reflex: position the singer so they face the most absorptive (or most open) part of the room, never a bare parallel wall right behind the mic. Also aim the back of the cardioid mic toward the most troublesome source of noise or reflection: its natural rejection zone will do part of the job for free.
Step by step
- Start at 15-20 cm, mic slightly above the mouth, aiming toward the nose.
- Add a pop filter a few centimetres out, which also sets the minimum distance.
- Record a line at real singing level, not a soft spoken voice.
- Adjust distance for the low end you want, then angle for brightness.
- Listen to the room: if it shows too much, move in and treat the reflections.
With those settings done, EQ and compression only polish rather than rescue. That is exactly the spirit of our notes on choosing a vocal mic and on getting podcast voice right: quality is won at the source.
My take
Mic placement is one of the few areas where you improve a sound without spending a cent, just by moving ten centimetres and listening. It is also the easiest thing to rush when time is short. Build the habit of recording the same line at two or three positions and comparing; within a few sessions you will have your reference points per voice type, and you will stop searching plugins for what distance and angle already gave you. The best preamp in the world will never fix a badly placed mic.