Two moments often get blurred in the rush of a get-in: the line check and the soundcheck. The latter is about setting the sound — levels, EQ, effects. The former judges nothing: it verifies. Is every console input receiving the right signal, in the right place, free of noise? Until the answer is “yes” everywhere, shaping the sound makes no sense. A careful line check means a soundcheck that starts calm and a show that holds no surprises by the third song.
Line check or soundcheck: don’t mix them up
The distinction is simple but structuring. The line check answers a binary question: is the signal present and correct on each channel? The soundcheck is a matter of taste and balance, and comes afterwards. Blending the two is the surest way to waste time: you start EQ-ing a kick drum… that’s actually patched to the low-tom channel. Separating the phases gives you a clean base before any artistic decision.
A line check ideally takes two people: one on stage activating sources in order, one at the console confirming. With a single engineer you organise differently — mics tapped one by one, instruments played open — but the logic is the same: move channel by channel, skipping nothing.
Preparing the ground
A good line check starts before the line check. It assumes a thought-out patch and a clear patch sheet: which source on which stage-box input, with which channel number at the console. That document turns a wall of XLRs into a readable plan. Preparing the console in advance — channel names, colours, group assignments — means you find each channel instantly when you verify it.
On stage, cabling should be tidy and labelled. Each line heading to the stage box ideally carries a number consistent with the patch sheet. The work looks tedious; it pays back many times over the moment a problem appears, because you know exactly where to look.
The method, channel by channel
The principle is to walk down the input list one at a time, never activating two sources at once. For each channel, you run the same checks:
- Signal present: does the source make the right channel’s meter move? If nothing moves, or another channel lights up, the patch is to blame.
- Patch match: confirm the physical input matches the displayed name. This is the step that catches swapped cables.
- Phantom power: +48 V on for condenser mics and active DI boxes, and above all off where it shouldn’t be.
- Rough input gain: set the preamp for a healthy working level with headroom. This isn’t the soundcheck yet, just a clean starting point.
- Noise and interference: listen to the channel alone. Abnormal hiss, 50 Hz hum, crackle when the cable moves? Fix it before moving on.
- Polarity: on sources captured by several mics (snare top/bottom, a bass mic plus DI), check that phases add up instead of cancelling.
This systematic pass isn’t wasted time: it’s what guarantees that, come soundcheck, every fader you push produces the expected sound. The input gain set here also becomes the basis for all level work, right up to gain before feedback on the monitors.
The recurring traps
Some problems repeat from stage to stage. +48 V sent by mistake to a ribbon mic can damage it: the rule is to cut phantom power at the slightest doubt and only enable it knowingly. Ground loops show up as stubborn hum; they usually come from the stage’s power distribution rather than a single cable. A high-pass filter left on from a previous setting can make a channel seem “bass-less”, just as a pad engaged by accident will make a source look abnormally weak.
Finally, beware intermittent sources: a cable that only passes signal when you press on it will pass the line check if you never touch it. Gently moving each connector while listening brings out these false contacts before they fail mid-show.
Stage box and network
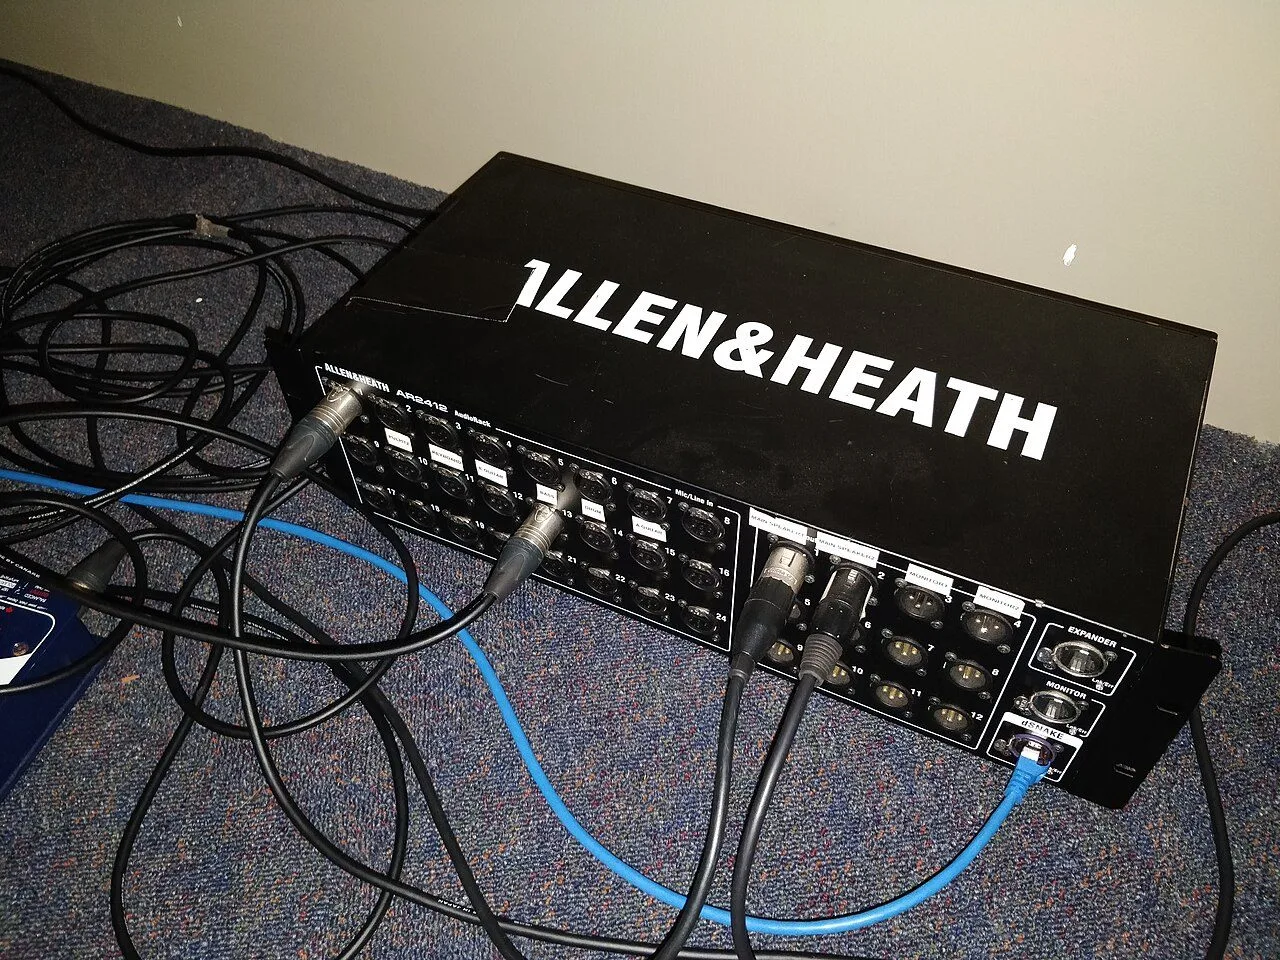
On digital systems, the line check also confirms the right stage box is online and the remote preamps respond. When several consoles share preamps over the network — FOH and monitors, for instance — you must agree on who drives the gain, because a gain change at one end carries over to the other. The split of inputs, outputs and routing is decided upstream, in the logic of the patch and stage box, and is best prepared by programming the console offline.
The express check-list
To move fast without forgetting anything, keep a short list to run on each channel:
- Signal present on the right channel.
- Patch matching the sheet.
- Phantom on where needed, off elsewhere.
- Healthy starting gain, with headroom.
- Clean channel: no hum, no false contact.
- Consistent polarity on multi-mic sources.
Once that list checks out everywhere, the soundcheck can start on solid ground — and you can focus on what matters, like building the front-of-house mix. Understanding the input stage closely also means knowing what a mic preamp does to the signal, from gain to impedance.
My take
The line check is the least glamorous part of the job, and yet it’s what separates a quiet night from one spent holding your breath. Ten minutes spent methodically walking the inputs beat a brilliant soundcheck built on a shaky patch. What counts isn’t speed but consistency: always the same order, always the same checks, so the reflex takes over when time runs short. A clean patch plan and well-named channels do the rest. The real luxury in a mix position is pushing a fader knowing in advance what will come out.