The setup could hardly be more ordinary: one console, two powered speakers, and a handful of cables in between. Which is precisely why it goes wrong one time in three. Anaemic level that you end up chasing by pushing everything to maximum, permanent hiss between songs, distortion that shows up the moment the room fills and you lean on the system — most of those symptoms have nothing to do with the gear and everything to do with three decisions made without much thought at patch time. Which output, which kind of run, and where the gain sits. Let us take them in order.
One point of scope before we get into it: this is about sound reinforcement in the broad sense — front of house, a playback speaker, a fill column, a DJ booth monitor, anything that receives the full programme from the console main output. A stage wedge, with its dedicated auxiliary send and its separate mixing logic, plays by different rules; it has its own wiring guide.
What actually comes out of a console
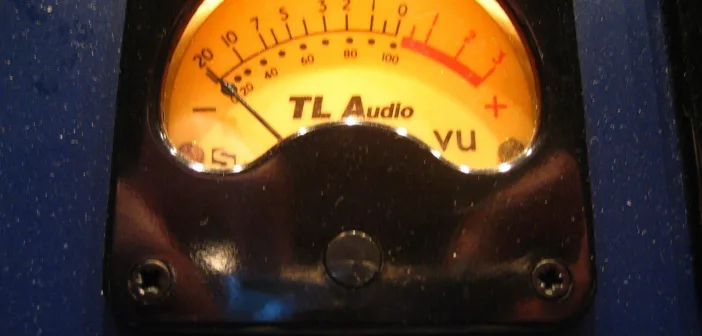
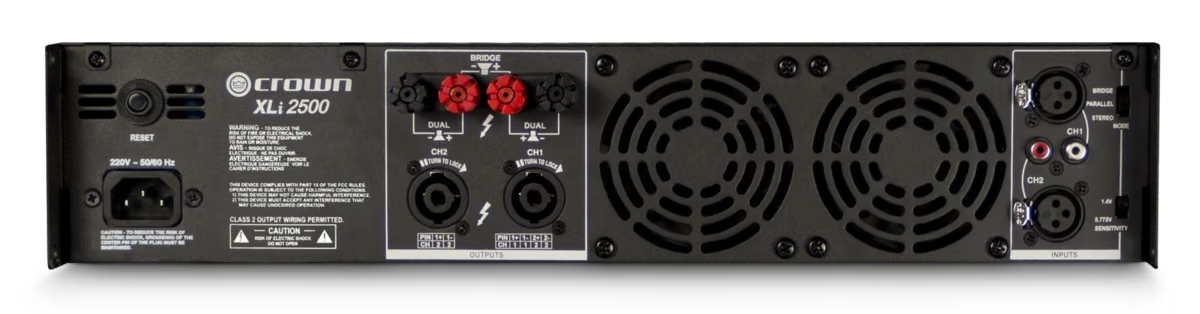
No mixing console, of any kind, ever delivers power. Its main outputs carry a line-level signal, in the region of 1.23 V RMS at 0 VU on electronics referenced to +4 dBu, with headroom before clipping that typically reaches +20 or +24 dBu depending on the vintage of the desk. A powered speaker expects exactly that, no more and no less: inside the cabinet, the input stage is a line preamp, not a power transformer. That is the structural difference with a passive box, which receives tens of volts at several amps from a power amplifier, over cable of appropriate gauge and a locking connector.
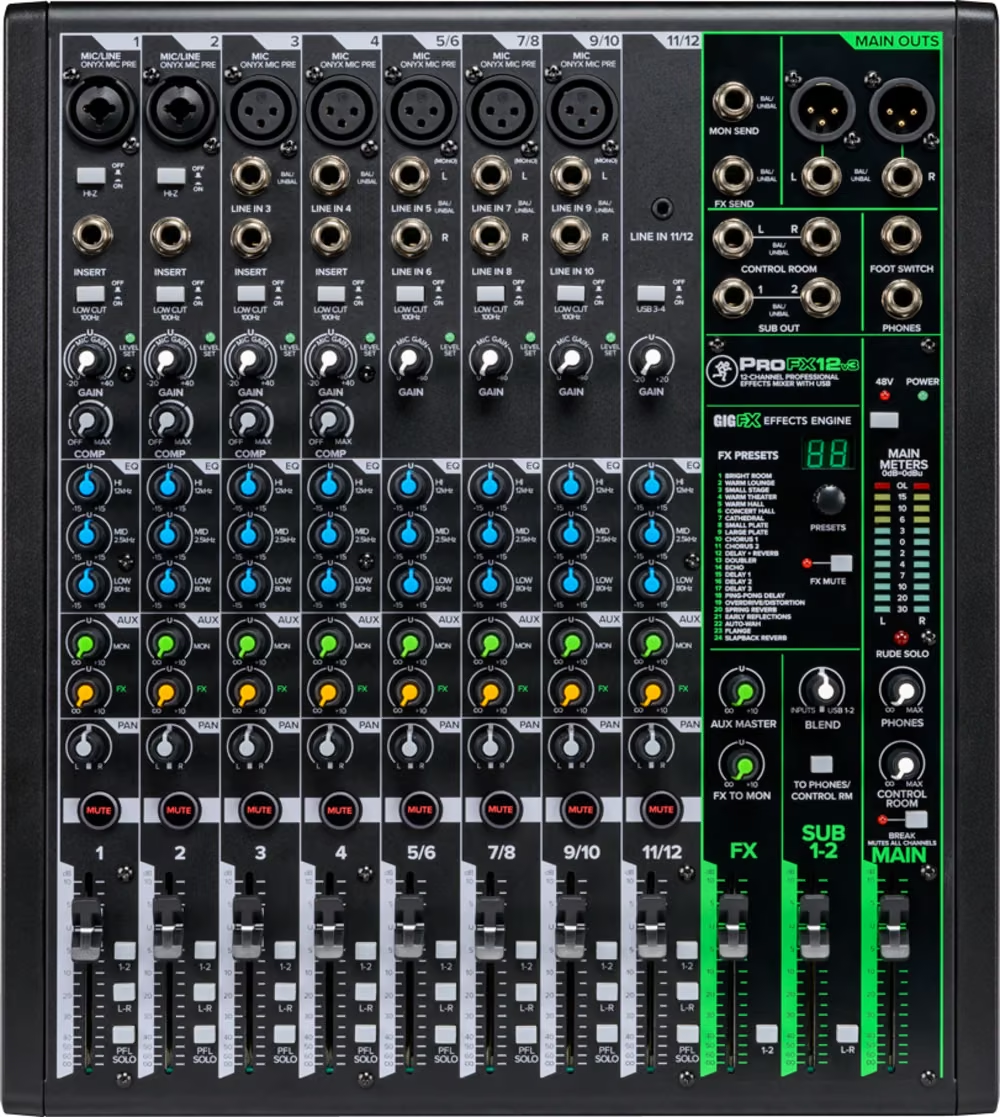
On the main output section you will find, depending on the model, a pair of balanced male XLRs, a pair of 1/4-inch TRS jacks sometimes switchable between balanced and unbalanced, and — on consumer-facing desks or monitoring sections — a duplicate RCA pair referenced lower, around −10 dBV. On a digital console those outputs are assignable: check in the routing matrix that the main bus really lands on the physical sockets you are plugging into. Loading a show file from a previous gig and patching blind into the front XLRs is a classic way to lose ten minutes before soundcheck.
Powered, active, passive: getting the words straight
Marketing language has blurred all three terms, and that has practical consequences at patch time. A powered speaker carries its amplifier or amplifiers inside the cabinet: it takes a line-level feed and a mains connection. An active speaker, strictly speaking, goes further: crossover filtering happens ahead of the amplifiers, with one amp per way, which allows far finer correction and protection. In current portable PA the two overlap almost completely — any modern powered cabinet is active in practice. A passive box has neither amp nor mains: it expects a power signal, and its crossover is built from passive components inside the enclosure.
| Powered speaker | Passive speaker + amplifier | |
|---|---|---|
| Signal expected from the console | Line level (XLR, TRS) | Line level into the amp, then power into the box |
| Cabling to the cabinet | Mic/line cable plus mains | Speakon cable, gauge chosen for the run |
| Protection and limiting | Built in, tuned to that driver | To be set on the amp or an external processor |
| Weak point | One dead module takes the whole cabinet out | An impedance or alignment mistake destroys drivers fast |
| Natural habitat | Mobile work, small and mid-size systems | Fixed installs, large systems amplified from a rack room |
There is no side to pick on principle here. The live system I rate above the rest, Meyer Sound, built its whole reputation on self-powered boxes, on the assumption that the amplifier and the processor should be designed for that driver and no other. Conversely, a permanently equipped venue gains from centralising its amplifiers in a rack room, where they are ventilated, protected and monitored. The question is never doctrine, it is what you have to transport, power and troubleshoot on a night when something fails.
The MIC/LINE switch, chief culprit
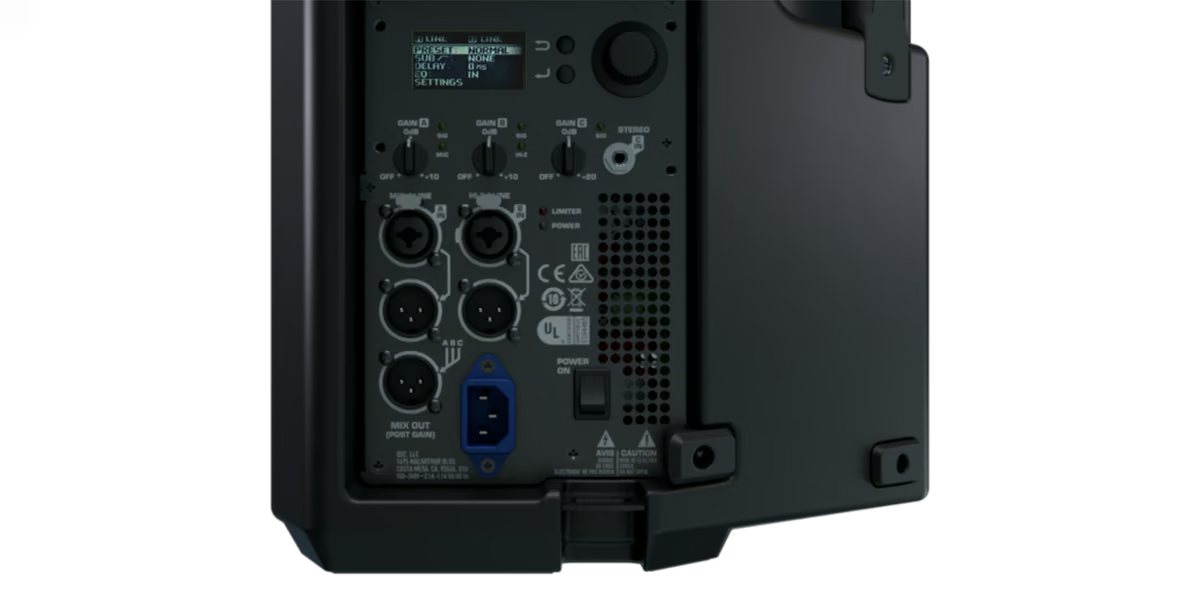
Here is the single item behind roughly half the rigs that “distort for no reason”. Most recent powered speakers offer a combo input whose sensitivity switches between mic and line, precisely because you may want to plug a microphone straight into the box, with no console at all, for a talk or a ceremony. Leave that switch on MIC and feed it a console main output and you are presenting a line-level signal to a preamp stage expecting forty decibels less. The result is hard distortion, audible from the first few watts, that nobody troubleshoots in the right place because it is still there with the console barely open.
So the reflex is mechanical: sensitivity on LINE whenever the source is a console, an audio interface, a media player or a processor. Keep the MIC position for the one case where a dynamic microphone is plugged directly into the cabinet. Some inputs also offer a high-impedance mode intended for an instrument plugged straight in: same logic, it has no business in a chain that starts at a mixing desk.
Balanced, unbalanced, and the hum that comes with it
Between console and cabinet, a balanced run is not a luxury: it is what makes the cabling indifferent to its length and to whatever it runs alongside. The principle is familiar — two conductors carry the same signal in opposite polarity, the input stage subtracts one from the other, and anything induced equally on both disappears. In practice that means an XLR or TRS run can follow thirty metres of power cable tray without you hearing it, where a TS jack or an RCA pair start collecting mains hum and RF after three or four metres.
- Do not convert out of habit. An XLR-to-TS adapter does not unbalance anything cleanly: it shorts the cold leg to ground, you lose the whole benefit and you load the console output into the bargain. If you have to cross between the two worlds over any real distance, a DI box is the tool built for it.
- Ground loops get fixed at the source. Two devices joined by a screen and fed from two different electrical circuits will hum. The right answer is to bring console and PA back onto the same distribution, not to cut the screen and certainly not to lift a mains earth. Where the venue’s topology makes that impossible, a ground lift switch on a DI box or a speaker input solves it by isolating the screen at the receiving end.
- The cable matters less than you are told. A set of Mogami, Canare or Klotz does faultless work, and I have seen far more failures caused by a cold joint in a badly reassembled XLR than by any choice of conductor. Spend the time you would have put into comparing exotic part numbers on checking your solder joints and strain reliefs instead.
Setting gain in the right order
Gain structure is the second great source of poor results, and also the one you can diagnose fastest. You have three controls in series: the input gain on each channel, the console master, and the gain on the speaker. They are not interchangeable, even though all three change how loud the room gets.
The method never varies. Set the input gains so that every source modulates properly, then bring the console master to its nominal mark — the familiar unity position, often given a detent — and only then open the speaker gain until you reach the level you want in the room. The opposite arrangement, master at −25 dB with speaker gain wide open, amplifies the noise floor of the entire chain and gives you that permanent hiss between songs. Its mirror image, master pushed past its headroom to make up for a speaker set too low, clips upstream: the cabinet faithfully reproduces an already damaged signal, and its limiter protects you from nothing because it never sees the distortion coming.
A word on that limiter. On a modern powered speaker its LED blinks on peaks: that is normal, and it means you are using the headroom the cabinet was built to give you. An LED lit continuously is another matter — the limiter is working full time, and you hear it immediately as the dynamics flatten and the low end pulls back. At that point what you need is not a gain tweak but another cabinet or a sub, and probably a serious pass of system alignment.
Headphone out, RCA, laptop: the workarounds
Not everyone drives their speakers from a balanced main output, and there are good situational reasons to do otherwise. A headphone output on a console or a laptop can feed a powered speaker, but it is a low-impedance power output designed for a transducer, with rough impedance matching and a potentiometer in series: keep it for emergencies, on a short cable, and back the source volume down to around two thirds to stay in a clean zone. An RCA pair referenced at −10 dBV works too, provided you accept the missing dozen decibels and make them up on the speaker gain, which raises the noise floor by the same amount.
As soon as the distance from an unbalanced source exceeds a few metres, the DI box is again the right answer: it balances, it matches level, it offers a ground lift. That is also the logic behind all stage cabling once a rig grows, with a patch and stagebox centralising the sends instead of twenty individual runs snaking across the deck.
What this connection is not
One last clarification, because the confusion is common. Plugging a powered speaker into a main output gives you a reinforcement point that reproduces the main mix. A stage wedge, by contrast, is fed from an independent auxiliary send, with its own channel-by-channel balance, its own EQ and its own feedback management. The physical wiring looks the same — same XLR, same line level, same sensitivity switch — but the mixing intent has nothing in common, and feeding a wedge from the master sends the musicians what the audience hears, which is close to the opposite of what they need. If that is your situation, the comparison between active and passive stage monitors lays out the right criteria.
The takeaway
Three moves cover the essentials. Start from a balanced console main output, never from a power output. Switch the speaker input to LINE and leave its gain at the nominal mark before you open anything. Set the gain structure from front to back, never compensating one stage with another. Everything else — cable length, DI boxes, ground management — follows from those three decisions. Speaker manufacturers generally document the behaviour of their rear panel very well in their product literature: five minutes of reading that save an evening spent wondering why it distorts.