On paper, a tech rider is anything but glamorous. In reality, it’s the document that decides whether your soundcheck starts on time or whether you’ll spend the afternoon improvising. It speaks at once to the band, to the sound and lighting company, and to the house engineer receiving the show. Done well, it heads off problems; done sloppily, it creates them. Let’s look at how to build one, and why its three parts — the rider itself, the stage plot and the input list — each deserve real care.
A technical contract, sent ahead
The tech rider is a document the artist or agent sends the venue in advance. Its job: to describe precisely what the production needs to run properly, and what the venue must provide. It becomes a shared reference. On the day, nobody “discovers” that a bass amp, an extra wireless channel or a dedicated power feed is missing: it was all written down, agreed, ready.
A good rider is dated, versioned and a few pages long. Too short, it leaves grey areas; too long and wordy, nobody reads it through. The goal is for a house engineer to prep the stage without having to call you.
Three documents, three jobs
People lump it all together as “the tech rider,” but it’s really three complementary pieces:
- The tech rider: the text. PA, console, monitoring, wireless, power, personnel, schedule, contacts, catering and dressing rooms.
- The stage plot: the diagram. Who stands where, which instrument, which monitor, which mic stand.
- The input list (or patch list): the table. Each source, its mic or DI, its patch number.
The three answer each other. The stage plot shows position; the input list derives the patch order; the rider covers the rest. An engineer who receives them together can set up the console offline, before you even arrive.
The input list, column by column
It’s the most useful document of all, and the easiest to standardise. One line per source, in logical stage order (drums, bass, guitars, keys, vocals), each with its capture type and the accessory needed.
| # | Source | Mic / DI | Stand / accessory |
|---|---|---|---|
| 1 | Kick | Kick mic | Short stand |
| 2 | Snare | Dynamic mic | Clip / short stand |
| 3-4 | Overheads | Condensers (pair) | Tall stands |
| 5 | Bass | Active DI | — |
| 6 | Guitar | Dynamic mic | Short stand |
| 7 | Keys (L/R) | Stereo DI | — |
| 8 | Lead vocal | Vocal mic + wireless | Tall stand |
Numbering the inputs makes everything else easier: that order carries through to the stagebox, the console and the scene recalls. On the choice between dynamic and condenser, or active and passive DI, capture logic comes first — something we detail in our guide to patch and stageboxes.
The stage plot, readable at a glance
A good stage plot is a top-down diagram, oriented “facing the audience.” On it you place each musician, their instruments, their monitors (numbered wedges or ears) and the power needs nearby. Flag anything that takes up room (drums on a riser, bulky backline) and the walkways. You don’t need fancy software: a clean, annotated sketch beats an unreadable architect’s drawing. What matters is that the engineer understands the layout without guessing.
The needs that really make the difference
Beyond sound, a few sections prevent gridlock:
- PA and console: expected system, console size, channel count. If system tuning matters to you, say so — it’s a discipline in itself, as our piece on system tuning explains.
- Monitors: number of mixes, wedges or in-ears, wireless for the ears.
- Wireless: number of mic and IEM channels, to plan frequency coordination. A frequency plan is built in advance, especially in crowded RF (see our RF coordination guide).
- Power: capacity and number of feeds, separate phases if needed. Clean power keeps the noise floor down, a topic covered in stage power.
- Personnel and schedule: load-in, soundcheck and doors times; who travels with the band, who the venue provides.
What plays out backstage
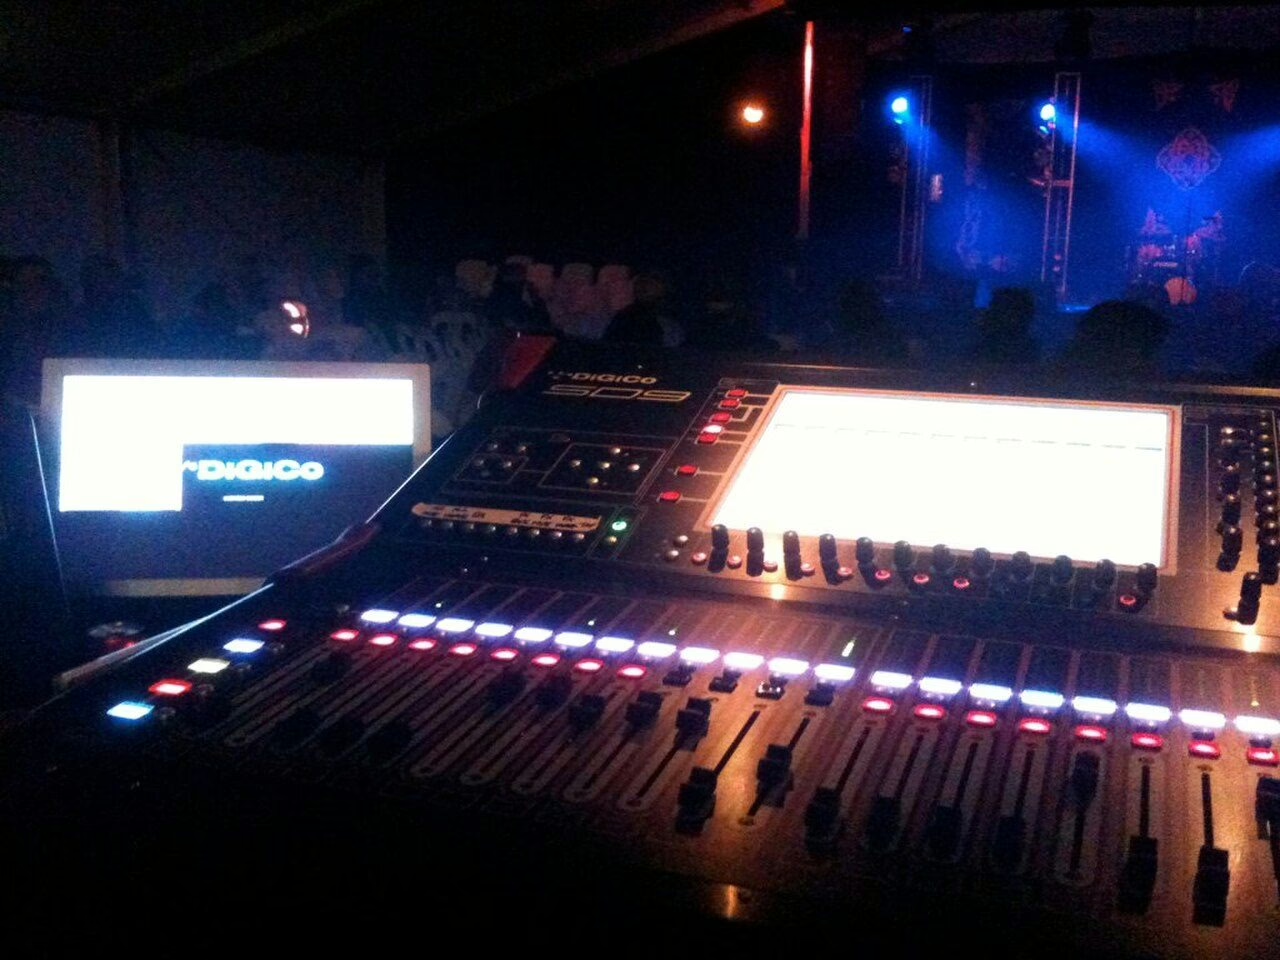
A complete rider also covers dressing rooms, catering, access and parking for load-in. These aren’t trivia: a show that runs smoothly depends as much on logistics as on the patch. And if your console setup is unusual, attaching a session file or a routing diagram avoids misunderstandings — the same demand for clarity as with wiring a mixing console.
My take
A tech rider is an investment that pays off at every show. The real secret isn’t being exhaustive but being readable: a house engineer should be able to prep everything from your documents, no phone call needed. The numbered input list is the star of the show — it structures the console and buys back the half-hour that changes everything. A clear stage plot and a dated rider beat a twenty-page folder nobody opens. Nail these three documents once, keep them current, and your soundchecks will start on time — which is all you ask of a well-run production.