
Connecting a monitor (return) to a mixing console may seem complex, but with a bit of know-how it becomes a simple, essential process for any musician or sound engineer. Whether you’re in a recording studio or performing live, proper setup ensures every member of the team clearly hears what’s happening. In this guide, we’ll explore the fundamental steps to effectively connect a monitor to your mixing console. You’ll discover the necessary equipment and best practices for a successful configuration.
Understanding the basics
Before getting started with connecting a monitor to a mixing console, it’s essential to understand a few basic concepts. This will not only help you make connections efficiently, but also optimize the use of your audio gear.
What is a monitor?
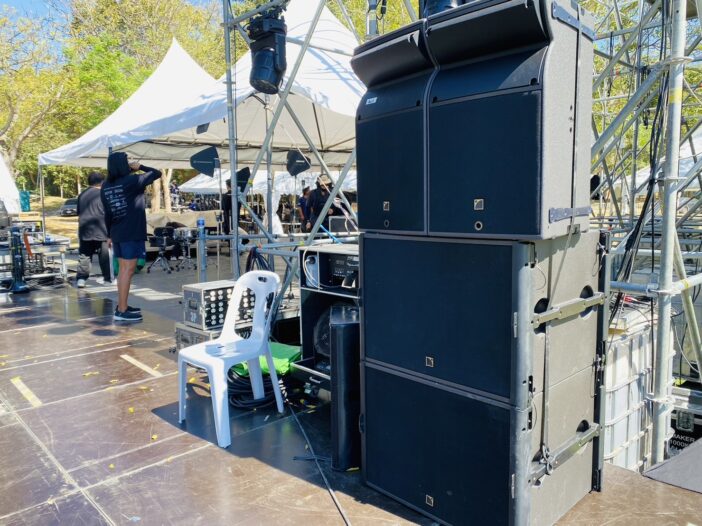
A monitor, often called a “stage monitor,” is a listening system used on stage by musicians or by the sound engineer to hear the sound mix during a performance. Unlike speakers intended for the audience, monitors allow artists to focus on what they are playing or singing, which is crucial for a successful live performance.
Monitors can take the form of traditional stage monitors (floor speakers) or in-ear monitors (IEMs). The main objective is to ensure that each musician clearly hears their own performance as well as other instruments according to their specific needs.
What is a monitor? A monitor, often called a “stage monitor,” is an essential on-stage listening system for musicians and sound engineers. It makes it possible to hear the sound mix during a performance. Unlike speakers intended for the audience, monitors are specifically designed to help artists focus on their vocal or instrumental performance. This is crucial to guarantee a quality live show.
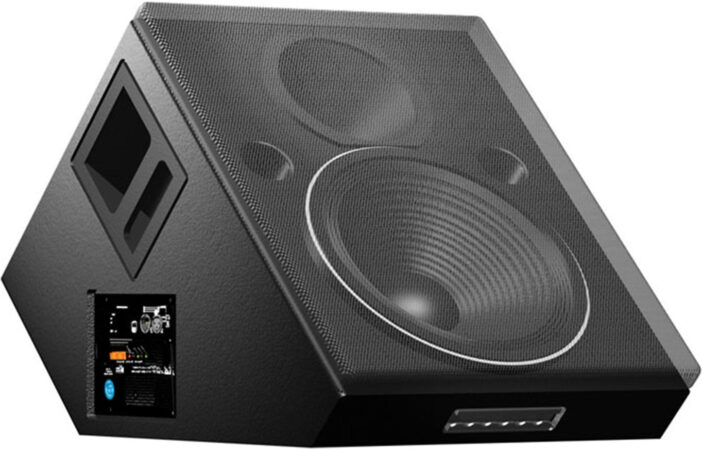
Monitors generally fall into two categories: traditional stage wedges and in-ear monitors (IEMs). These systems aim primarily to allow each musician to clearly hear their own performance as well as other instruments, depending on their specific needs.
For loudspeakers, several types are distinguished: “wedges,” also known in French as “bains de pied,” “drum fills,” which are standard speakers placed vertically at the drummer’s ear level, and “side fills,” placed on either side of the stage to add some sound pressure and compensate for proximity to the front-of-house speakers. Note that some drummers prefer to use studio headphones rather than in-ear monitors to benefit from better bass reproduction in their sound.
How a mixing console works
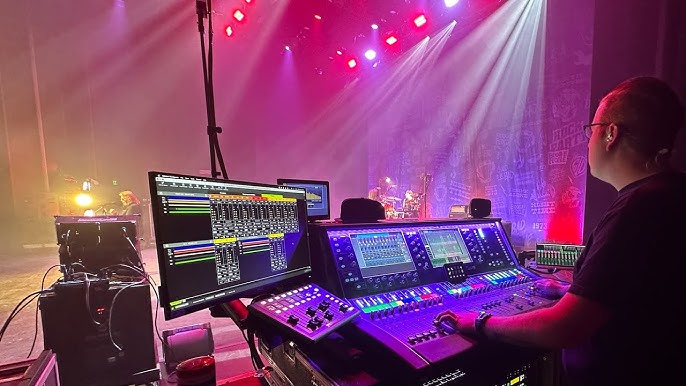
A mixing console is an essential audio management device used to combine, equalize, and adjust the levels of different sound sources. It has various inputs and outputs that allow you to handle multiple audio sources simultaneously.
Each channel on a mixing console can be assigned to a particular sound source, such as a microphone or a musical instrument. These signals are then balanced and shaped to create a coherent mix. One of the crucial features of a mixing console in a monitoring context is the auxiliary send, which routes specific signals to different stage monitors. This provides the flexibility needed to adjust what each artist hears.
Prepare the necessary equipment
Proper preparation of the equipment is a crucial step to ensure a good connection of a monitor to a mixing console. Here are the elements to consider when preparing your setup.
Choose the right cables
Choosing the cables is important to ensure quality audio transmission between the mixing console and the monitors. Here are some types of cables generally used:
* XLR cable: Essential for professional connections, particularly for microphones and balanced lines. It offers excellent signal quality and significantly reduces unwanted noise.
* TRS (jack) cable: Often used for balanced analog connections and professional audio equipment. Be sure to choose high-quality cables that are very durable.
* RCA cable: Commonly used for home audio connections and some DJ equipment. However, it is less suited to professional stage environments.
Select the appropriate inputs and outputs
To connect a monitor correctly, it’s important to know which ports to use on your mixing console.
* Auxiliary outputs: The console’s auxiliary outputs are mainly used to send signals to monitors. They allow a personalized monitor mix according to the user’s needs.
* Monitor inputs: If you are using active stage monitors, they can be connected directly to the auxiliary outputs. For passive monitors, you will need an intermediate amplifier.
* Console channels: Make sure you have access to the specific channels required to send the correct mix to the chosen auxiliary outputs.
Check equipment compatibility
Before making final connections, check that all equipment is compatible. Here are a few points to consider:
* Technical specifications: Ensure the power levels and impedances of the monitors are compatible with your mixing console.
* Matching connectors: The ports on your equipment must match the connector types of the cables you use (XLR, TRS, RCA).
* Audio format compatibility: Check that the audio formats supported by the console are suitable for the monitoring devices, especially if you’re working in a digital environment.
* Brands and models: Recommendations and specifications may vary by brand and model, so always consult the user manuals for specific information.
By properly preparing your equipment and understanding these basic concepts, you’re on the right track to successfully connecting a monitor to a mixing console effectively and professionally.
Physical connection on the mixing console
When you want to connect a monitor to a mixing console, understanding the entire physical connection process is essential. This will allow you to ensure a good integration of the monitor into your audio system.
Identify the connection ports
The first step is to identify the appropriate connection ports on your mixing console. Most consoles have several types of connectors, including XLR, TRS (6.35 mm jack), and sometimes RCA. The main outputs are generally located on the back of the console, while the monitor inputs may be on the front or back.
* Main outputs (Main Out): Check these outputs to see which connectors they use. XLR or jack outputs are common.
* Auxiliaries (Aux Out): Often used for monitors, auxiliaries give you flexible options to control the mix sent to the monitor.
Be sure to understand your console’s connection diagram, often indicated by labels or in a manual.
Connect the cables to the inputs/outputs
Once the ports have been identified, you can proceed to connect the cables. Follow these steps:
1. Choose suitable cables: Make sure you use the appropriate cable type for your equipment. XLR cables are preferred for their robustness and ability to limit interference.
2. Connect the output cable: Plug one end of the cable into the auxiliary output of your mixing console.
3. Plug the cable into the monitor: The other end of the cable connects to the stage monitor or the monitor you’re using.
4. Check connection firmness: Make sure each connector is securely seated to avoid audio dropouts.
Set the volume levels
After connecting your cables, it’s crucial to set volume levels properly. This involves setting both input and output levels.
* Start with volume at zero: To avoid damaging your audio equipment, always start with the volume at zero before gradually increasing it.
* Set the master level: Adjust the console’s master level while watching the VU meters to avoid distortion.
* Adjust the auxiliary levels: Adjust the auxiliary send levels to determine the level of the mix sent to the monitor. Test with various volumes to find a comfortable level.
Test and adjust the sound
Once the physical connection is established, the next step is to test the system and adjust the sound until you get the desired audio quality.
Perform a sound check
The sound check ensures that all connections have been made correctly and that sound is properly distributed.
* Start an audio test: Play a reference sound or use a microphone to capture voices. This will help you evaluate the sound quality coming from the monitors.
* Check coverage: Make sure the sound is even across all monitors and that there are no dead spots.
Adjust the equalization
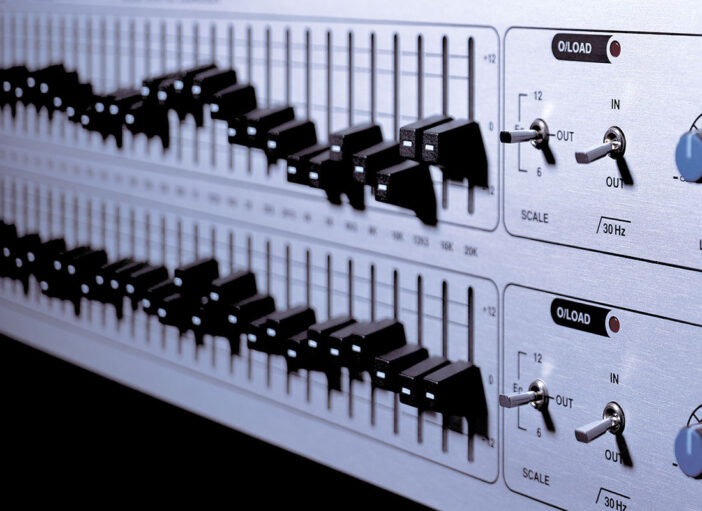
To achieve the best possible sound, it’s often necessary to adjust the EQ.
* Use the EQ: Adjust lows, mids, and highs to achieve a balanced sound. Sometimes certain monitors will need more adjustments in specific frequencies.
* Avoid clipping: Make sure your EQ adjustments don’t cause clipping. Excessive levels in certain frequencies can harm clarity.
Fix potential issues
Finally, be attentive to potential problems that may arise and require immediate correction.
* Resolve hums: If you hear a hum, check the connections to ensure all cables are properly grounded.
* Eliminate feedback: Change monitor positions or adjust gain levels to eliminate unwanted feedback, and correct EQ to tame it.
* Check for artifacts: If distortions or clicks are present, this may indicate faulty cables or incorrect settings on the mixing console.
By following these methodical steps, you can efficiently connect a monitor to a mixing console, ensuring optimal audio performance for your sound reinforcement needs.
Connecting a monitor to a mixing console is an accessible task, even for sound enthusiasts. By following these simple steps, you can improve the quality of your performances or rehearsals. Be sure to check connections and adjust sound levels to avoid any feedback or clipping issues.
In summary:
- Identify and prepare the auxiliary outputs.
- Connect the cables properly.
- Set levels for optimal sound.
This approach will guarantee you a better audio experience, whether on stage or in the studio. Don’t hesitate to experiment with different settings to find the sound that suits you best.


